So you wanted to turn your bowrider boat into a fishing boat.
You did your research, found the perfect trolling motor for your bowrider, then went out and bought it to create your perfect fishing boat.
Now that you have your trolling motor, here is what you need to know to mount it and begin your fishing trips.
Table of Contents
What you will need to correctly mount your trolling motor?

Here are most of the materials you will need from start to finished. Depending on what motor you buy you made an extra part of two.
Here is what you need:
- Correct size brackets
- Appropriate size bolts with washers and nuts.
- A socketed screwdriver or power tools
- A 12 volt DC power source or 24 volts depending on your boat size.
- You also need all the wires to connect the motor to the battery.
- You will also need heavy gauge cables and the correct size fuse to power the trolling motor.
- Bungee cords if you need to stow the battery in a place where it might slide around.
How to mount a trolling motor correctly?

There are two ways to mount your trolling motor on your bowrider.
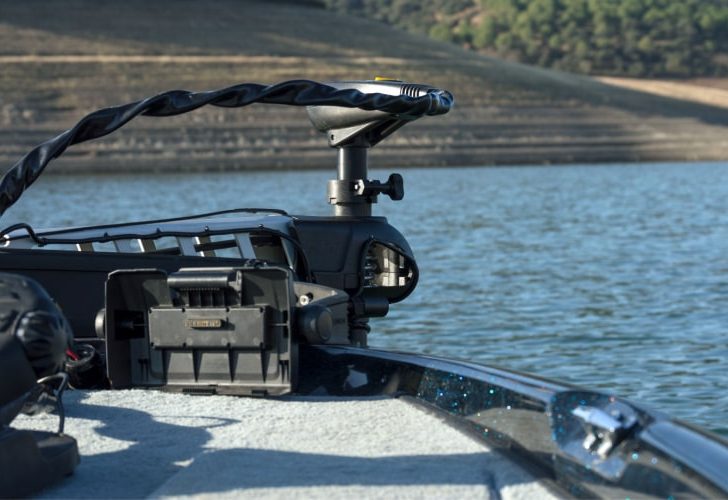
The first way is easy. If you have a rail near the middle of the boat, then would simply clamp the motor to your rail.
If you do not have a rail then you will need to bolt a bracket or a block fitted to the motor mount plate, onto the bow so you can slide the motor onto it securely.
If you are bolting in a bracket or block, you will need to do a few things before you bolt the bracket on. Here is a link to a YouTube video with the basic instructions.
First, you need to figure out the best placement for your trolling motor, it is advised not to block the lights on the boat. To find the best placement you should lay the motor out to see where it fits best on the boat.
Once you have the placement figured out you should trace or mark the area some visible like a grease pencil, where you need to put the bracket. While you have it laid out make sure it is in a place that gives you access to the foot pedal if your motor has one.
Place either the bracket itself or a template if you are using an opaque block of wood or plastic as your bracket. Some brackets come with the holes already drilled but chances are the end of the bracket will have to stick out over the edge of the bow, so you may need to drill your own set of holes.
The reason the bracket may stick out over the edge is that you need to make sure that the shaft of the motor is far enough out that it does not touch the boat’s hull. Use something straight like a pencil, hold it out under the part of the bracket that is sticking out to gauge the distance from the hull.
Now that everything is measured and marked on the bow it is time to drill your holes for the bolts. You need to make sure that you can reach underneath the bow to attach a washer and a nut to the bottom of each bolt.
Drill at least four holes to make a square shape through the bracket and the hull, then insert the bolts into the holes. Attach the washers and nuts, then tighten the bolts.
The material the bolts are made of dictates whether you hand tighten with a socket wrench or use power tools. Keep in mind that power tools can strip certain materials if they use too much torque.
The last step is to slide the motor mount onto the bracket to secure your new trolling motor in place.
How to mount the electrical parts needed to make the motor work?

Now that your motor is in place on the boat you have to attach the power source so it will run.
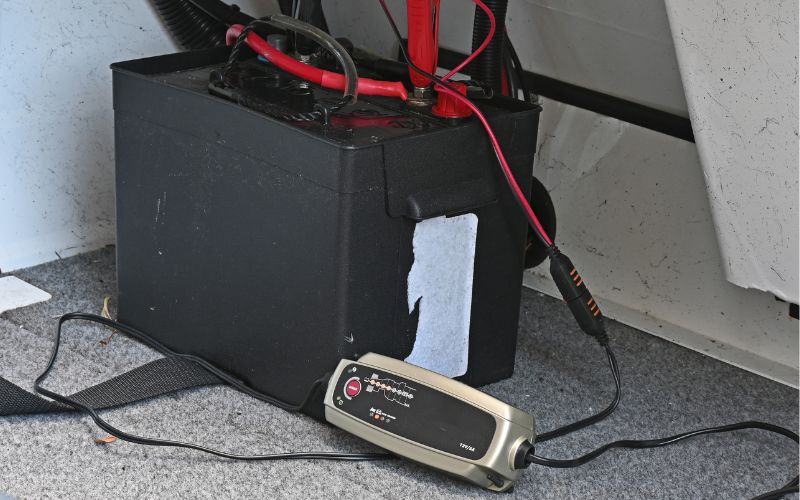
The power source will be a 12 volt DC deep cycle for a 14 to 16-foot boat, if your boat is bigger go up to 24 volts which in most cases will require connecting two 12 volt batteries together.
Your boat should already have a battery for the main engine. Your second battery needs to be connected to the main engine also to charge.
This means you will need an “isolator” to divide the charging power of the main engine to charge both batteries. Make sure your main engine has enough power to charge two batteries.
Some trolling motors come with a wiring harness but if it doesn’t you will need enough heavy gauge wire to run from your new battery to the trolling motor. You need to connect the wiring to the fuse panel.
Read the owner’s manual for the motor to determine what size fuse you will need to power it without causing electrical problems with the boat.
If you have a very simple motor then it may come with alligator clamps that you will hook up directly to the battery. If you do that make sure your battery is in a waterproof container.
In conclusion
Once you have everything up mounted and attached, check to make sure everything is working properly before you take it out on the water.
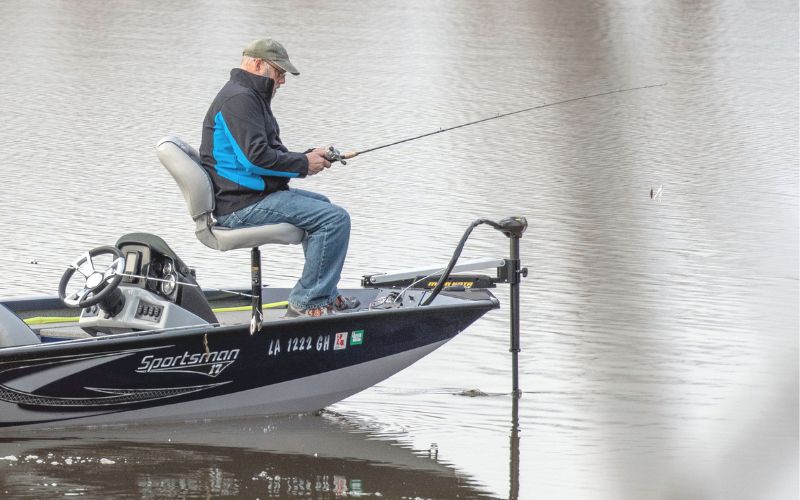
Most bowriders have an option to add a deck seat close to the bow if you want to sit comfortably while you are fishing. It will also be easier to control if you have a foot pedal. If you would prefer to stand that is fine too.
Now you are ready for a day out catching fish.

I created this site to help people – to help you – with your boat problems. Instead of helping one person at a time, I want this website to be the “one-stop-shop” for everyone’s boating concerns. Read more.


