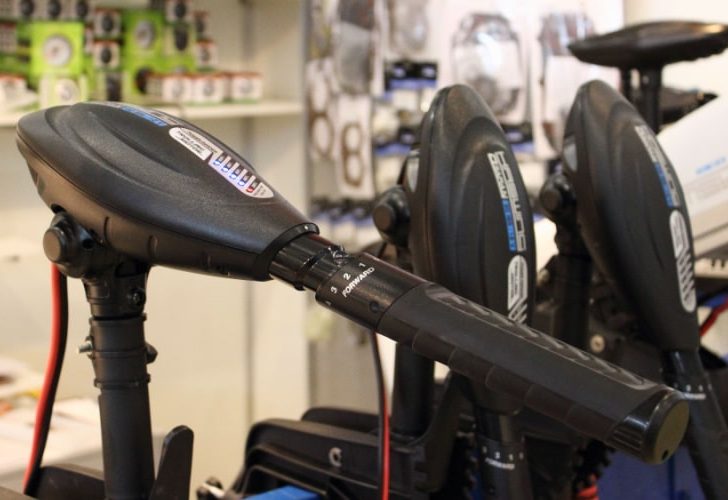
Depending on which trolling motor you buy, you may have 2, 3, or 4 wires coming out of it. These systems are designed to be set up in different ways for different purposes.
It’s important to understand what these wires are for so you can hook up your trolling motor effectively. That way, you can stay safe out on the water and get the most out of your trolling motor, too. Here’s what you need to know.
Table of Contents
Trolling Motors With 2 Wires
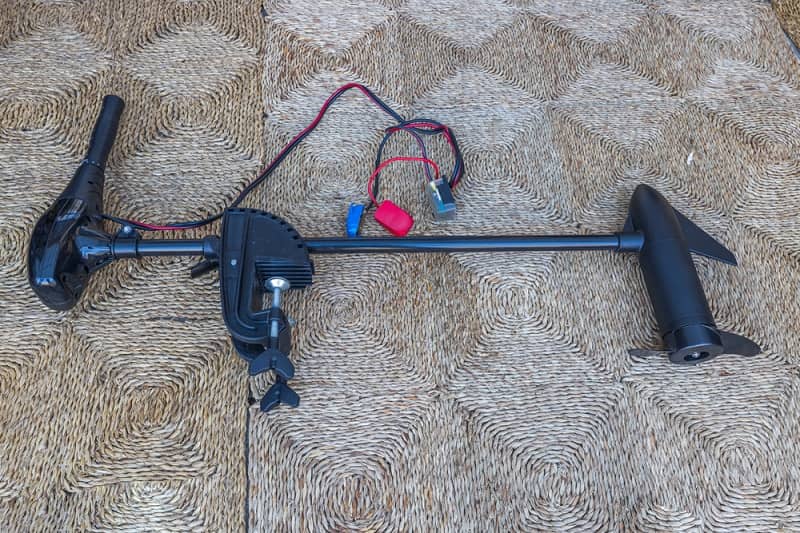

Trolling motors with 2 wires are the easiest to hook up. Most of them come with one red wire and one black wire. The red wire is always positive, while the black wire is always negative.
If you are hooking your trolling motor up directly to the battery, attach the red wire to the battery’s positive pole.. Then, attach the black wire to the negative pole of the battery. This should effectively power your trolling motor.
However, if your trolling motor does not come with a circuit breaker installed, you should put one in. In this case, you will attach the positive wire to the positive pole of the circuit breaker (if it has one – sometimes these are not marked, in which case you can attach it to either pole).
Then, attach the other pole of the circuit breaker to the battery’s positive pole with another wire. After that, attach the negative pole of the trolling motor to the negative pole of the battery.
Here’s a video about how to attach a circuit breaker to your battery setup.

Trolling Motors With 3 Wires
Most trolling motors with three wires are designed to give you a choice between using 12 volts or 24 volts. These trolling motors will also have a switch that you can set to either voltage to make sure it is working the way you want it to.

Trolling motor with three wires –
If you have one of these trolling motors, you will either have:
- Two red wires and one black wire
- One red wire, one orange wire, and one black wire
- One red wire, one white wire, and one black wire
No matter what color the wires are, the key thing to know is that the black wire is the negative wire, and the others are designed to work as positive wires.
To set up the motor, you will attach one of the positive wires to the positive terminal of a single 12-volt battery. Then attach the other positive wire to the positive terminal of your 24-volt setup. Finally, attach the black wire to the negative terminal of the 12-volt setup.
Once you have everything in place, test the motor in a bucket of water. Make sure to test it at both the 12- and 24-volt settings.
If it is spinning very slowly when set to 24-volts, you will need to switch the positive wires so that the one attached to the 12-volt battery now attaches to the 24-volt setup. Sometimes, the wires are marked so you can easily identify, but most of the time you find out through trial and error.
Ideally, you will attach a circuit breaker between the positive wires and the batteries or battery setups for both 12 and 24 volts. See the instructions outlined above to find out how to do that.
This video covers various 2 and 3 wire trolling motor battery setups, if you’d rather see it visually and follow written instructions.

Trolling Motors With 4 Wires
These are older system setups, from back before people had the onboard battery charging systems they use today. Essentially, it allowed for multiple battery setups because people couldn’t charge their batteries en route.
Most of these four-wire systems have two sets of red and black wires. The red wires are the positive wires, while the black wires are the negative ones. Attach one set of red and black wires to one battery’s positive and negative poles and the other set to the other battery or battery setup.
Trolling motors with four wires usually have switches that allow you to choose which battery setup to use. When one battery runs out of juice, simply switch to the other one to keep the trolling motor going.
If the trolling motor has different voltage options, make sure that one set of positive and negative wires is attached to one voltage option (like a 12V battery) and the other to the other option (like a 24v battery setup). Switch between them as needed or as desired.
Because this is an older setup, there aren’t quality videos that will show you how to wire it or how to troubleshoot it. If you have questions about a trolling motor with four wires, talk to a marine electrical professional today.
Do I Really Need a Circuit Breaker?
While circuit breakers are not essential to get power to your trolling motor, they will protect it. Circuit breakers are designed to shut off power to the trolling motor if something may hurt the motor.
")
Most of the time, circuit breakers turn off the power when it is surging or fluctuating in a way that could damage your trolling motor. It will also interrupt power to the motor if the system gets wet.
Even systems designed to function in marine conditions can suffer accidents where water gets into places where it should not be. A circuit breaker ensures that your trolling motor is not ruined if this happens on your boat.
Ensure that the amperage on your circuit breaker matches or exceeds the maximum amperage that your trolling motor can pull. This information should be available online or in your owner’s manual.
Many trolling motor manufacturers sell circuit breakers designed for the different models of trolling motor that they sell. You do not have to buy one of these, but doing so is a good way to guarantee that you get one that will work optimally with your trolling motor.
Conclusion
No matter how many wires you have on your trolling motor, you should be able to get yours working quickly and efficiently. If you can’t get power to the motor or it isn’t working the way you think it should, contact a marine electrical professional to get some help.
Before you know it, you’ll be back out on the water, enjoying your boat and your trolling motor. As always, check your electrical connections before you leave the shore to make sure everything is working properly.

I created this site to help people – to help you – with your boat problems. Instead of helping one person at a time, I want this website to be the “one-stop-shop” for everyone’s boating concerns. Read more.
Clay Burnette
Thursday 13th of March 2025
I have a minnkoat 101 trolling motor is it a24 or a36 it has 4 wires 2red 2 black how do I wire it up