
You just got back from a great day on the water. You may have heard that it’s a good idea to flush your outboard motor before storing it away, especially if you’ve been boating in saltwater.
But what does outboard flushing mean, exactly? And how do you do it?
Keep reading! In this article, we’ll discuss the four most common ways to flush an outboard motor.
Table of Contents
What is Outboard Motor Flushing?
When applied to outboard motors, the term “flushing” has to do with cleaning out the water passages.
Outboard motors are constantly pulling in and pumping out water. This continuous cycle helps the motor move through the water and keep the engine from overheating.
Flushing your motor involves pumping clean water through the system to remove any debris and limit the chances of corrosion or buildup.
You may have heard that you need to flush your outboard motor after using it in saltwater, and this is true. Saltwater is highly corrosive and can cause thousands of dollars of damage to your motor if you don’t clean it.
But did you know it’s also important to flush your motor after freshwater use? Lakes and rivers are typically muddy and may be filled with debris. When this dirty water is pulled into your motor, over time, it will begin to build up and may clog the water passages.
If these water passages become clogged or damaged, the motor will not function properly and may begin to overheat. This, in turn, can lead to a multitude of problems with your motor in the long run.
With this in mind, it’s best to flush your outboard motor after every use, whether you went out in saltwater or murky freshwater. This simple task will most likely save you money in the long run.
Best Ways to Flush Your Outboard Motor
So the question remains: how do you flush your outboard motor? And how long can you expect it to take?
The good news is that flushing your motor is a fairly simple process and will take no more than 10 to 15 minutes in most cases.
There are four primary ways of flushing your outboard motor: using the flush port, a set of flush muffs, a flush bag, or a large bucket.
We’ll talk in depth about each of these methods below.
Before you decide which method to use, though, it’s a good idea to check your owner’s manual. Each manufacturer will have slightly different recommendations on how to flush your specific motor.
Without further ado, let’s discuss the most popular flushing methods.
1. Flush Port
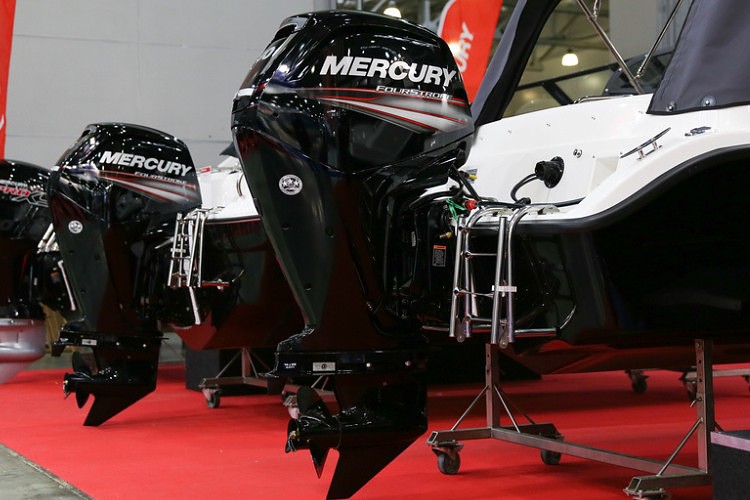
A lot of outboard motors have a flush port built right into them. This is especially true of the newer, more expensive motors, and for brands such as Mercury and Suzuki.

If your motor is equipped with a flush port, then flushing it will only take about 5 to 10 minutes and can usually be done with the motor turned off. If you need help locating the port, check your owner’s manual.
To use a flush port, follow these steps:
- Unscrew the cover on the flush port. You will most likely see a threaded opening large enough for the end of a regular garden hose.
- Screw the end of the garden hose into the port. Be very careful to avoid cross-threading, as this may damage the port, which is typically made of plastic. Do not over-tighten the hose.
- Turn on the water, but not at full blast. Most flush systems only need a water stream of about 10 psi. Check your owner’s manual if you’re uncertain, though it’s unnecessary to make sure the water is flowing at exactly 10 psi. Just make sure it’s flowing gently.
- Leave your motor turned off during the process. Allow water to run from your hose through the flush port for about 5 to 15 minutes, depending on personal preference and the instructions in your owner’s manual.
- Turn off the water, unscrew the hose from the port, and replace the cover on the port opening.
- Make sure the motor drains and dries thoroughly before packing it away for long-term storage.
- Repeat this process every time you get back from a day on the water.
For a great visual on this process, check out the video below:

2. Flush Muffs
Flush muffs are one of the most commonly used items for flushing your outboard motor. In fact, they were used almost exclusively for flushing motors before manufacturers began adding flushing ports to their outboards.

If you have an older outboard motor, or one designed without a port, you may want to use a set of flush muffs. Here’s the step-by-step process:
- Hook up your garden hose to the muffs according to package instructions.
- Locate the water intake valves on your outboard’s lower unit. Most outboard motors have two of these valves, one on either side. Some may have more than two, while others may have them on the front and back instead of the sides.
- Place the “earmuff” portions of the muffs over the valves. If you have more than two valves, make sure to block off the uncovered ones with duct tape. If your motor’s valves are on the front and back, make sure you have a set of muffs specially designed for this.
- Turn the water on, allowing it to run through the hose and muffs and out through the water intake valves.
- Turn on the motor and run it at a fast idle, around 1,000 RPM. Keep it in the neutral position.
- Check to make sure water starts flowing out of the tell-tale on the outboard. Do not leave your motor unattended during this process. Allow the water to continue flowing for 5 minutes or more, depending on manufacturer instructions.
- When you are finished, turn off your motor, then turn off the water. Remove the muffs from the engine and disconnect them from your hose.
- Again, make sure the motor is fully drained and dried before storing it away. Repeat this process every time you get back from a boating trip.
Check out this video to see how it’s done:

3. Flush Bags
Flush bags are large structured bags typically made of vinyl or some type of flexible plastic. You fit one around your outboard’s lower unit, fill it with water, and flush the motor in a more natural, submerged environment.
To use a flush bag, follow these steps:
- Make sure your bag is large enough for your motor. It should reach about halfway up the motor and completely enclose the water intake valves. Remove your motor’s propeller and work the bag onto your lower unit.
- Attach your garden hose to the bag to fill it up and circulate water through the bag throughout the process.
- Turn on the water. Once the bag is full and beginning to spill out, turn on your motor, making sure to keep it in neutral. The engine should be running at about 1,000 RPM, similar to flushing with muffs.
- At this point, if you want, you can add a to the bag to help remove salt and other corrosive buildup.
- Make sure water is coming out of the tell-tale. Do not leave your motor unattended while flushing. Leave the water turned on for at least 5 to 10 minutes, depending on manufacturer instructions.
- Turn off the engine, turn off the water, and remove the hose. This will allow the bag to drain.
- Remove the bag from the lower unit. Allow the motor to drain and dry completely before storing it away.
- Remember to flush your motor every time you return from a trip out on the water.
To see how to use flush bags with your outboard motor, check out the following video:

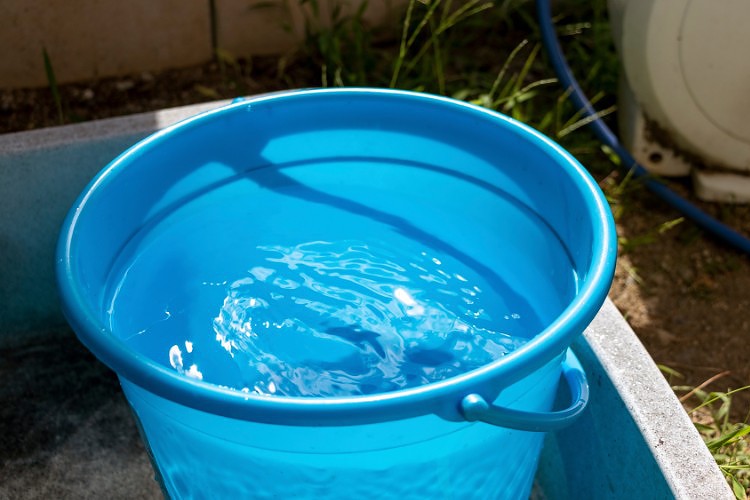
4. Tub or Bucket
Sometimes, all you need is a modified tub or large bucket to flush your motor. This is one of the least expensive methods, and the process is similar to using a flush bag once you have prepared your bucket.

What goes into using this method? Follow these steps:
- Gather a few materials. You’ll need a or tub tall enough for submerging the lower half of your outboard, as well as a three-quarter-inch hole saw and a three-quarter-inch .
- Drill a hole near the bottom of the bucket, and fasten the hose attachment in place.
- Attach your hose to the hose attachment and turn on the water. Allow the bucket to fill up and spill over.
- Turn on your motor and allow it to idle around 1,000 RPM. Keep the engine in neutral.
- Flush the motor for at least 5 to 10 minutes.
- Turn off the motor, turn off the water, and disconnect the hose. Allow the water to drain through the bottom. Remove the motor from the bucket, and let it dry thoroughly before storing it away, as with the methods described above.
- Repeat this process every time you return from a boating trip.
To see how to use the bucket method, check out this video:


I created this site to help people – to help you – with your boat problems. Instead of helping one person at a time, I want this website to be the “one-stop-shop” for everyone’s boating concerns. Read more.