Ah, fishing, that wonderfully relaxing sport we all swear isn’t a bit boring. And it isn’t, if you do it right.
Now, what exactly “doing it right” means depends heavily on personal preference, but to many, sitting on a riverbank clutching a pole is a baseline that could use a little improvement.
Trolling, one of the most popular alternatives, is often shunned due to the high initial cost of a trolling boat; but it doesn’t have to be that way.
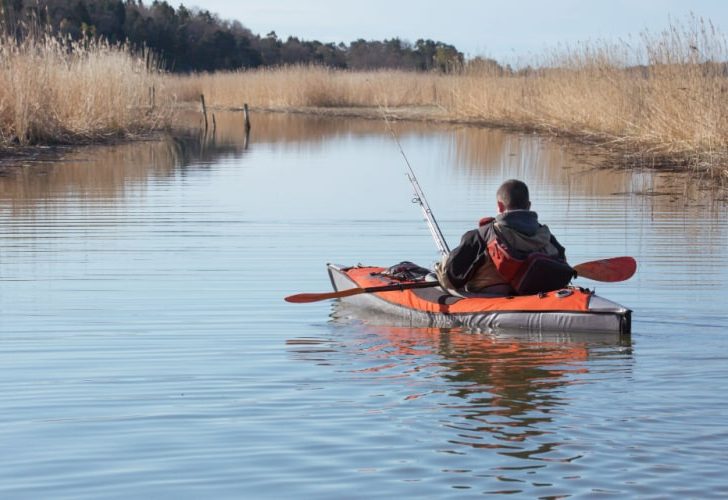
Today, we’ll discuss how to get started with trolling on a budget, converting a simple inflatable kayak into a fun and relaxing way of fishing efficiently.
Table of Contents
Finding A Kayak That’s Right For You
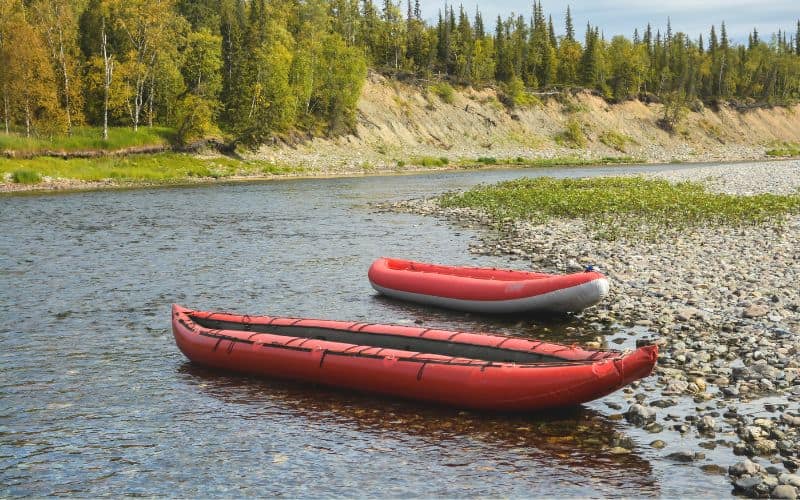

The first step before we get out onto the water is to explore the available options for inflatable kayaks. If you already have a kayak, feel free to skim ahead to the next section to get into installing rod holders.
Due to the highly varied world of aquatic sports, it’s hardly surprising to learn that not all kayaks are equal when it comes to their effectiveness for fishing.
A few key characteristics set apart kayaks as ideal for trolling, and depending on your individual circumstances you may weigh these differently.
The first of these criteria is the kayak’s spaciousness. Fishing is hardly a low-equipment sport, and between tackle boxes, pole gear, and leg room to remain comfortable, it’s important that a kayak is set up to support you.
Second, you will want to consider the question of a manual vs. a motor-powered kayak. While obviously more expensive, and to some a little antithetical with the goal of connecting with nature, motor-powered kayaks make up for these drawbacks with the convenience of leaving you free from paddling.
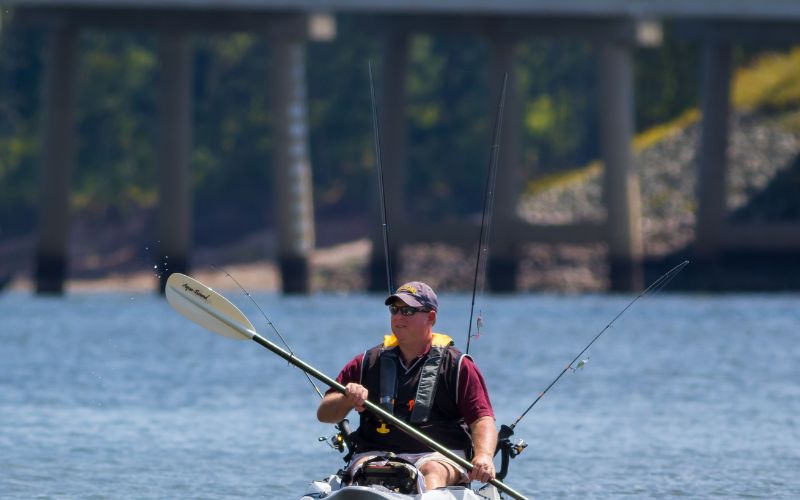
Finally, there is the subject of rod holders. While some kayaks have built-in rod holders, those options tend to be more expensive and may not be in a design you like. Whatever you choose, make sure to keep in mind what attachable rod holder options would be available with each choice.
How To Install Rod Holders

So you end up finding the perfect kayak, but it just doesn’t have rod holders or even anywhere to attach them! Luckly, you can buy rod holder assemblies that will hook directly onto the boat’s frame.
There are many designs for rod holders and your individual needs will dictate which is best for you.
Perhaps the simplest design is clamp-on rod holders. If your kayak has solid siding of some kind, these designs can clamp around it with surprising flexibility. While not always the most stable, especially if kids are about to knock them around, they nonetheless provide a clear and simple solution.
No products found.
If your kayak has any kind of rail or other pole-like elements in its frame, powerlock rod holders are worth your consideration. These are very specific to certain boats, but where they work they can provide an inexpensive and well-secured option.
No products found.
Finally, though rare on inflatable kayaks, it is worth looking for a place to mount a bolted rod holder. Many options of these are available, but generally you will need to find a solid plastic anchor and drill holes through it to accommodate the device.
No products found.
Commercially available rod holders aren’t the only option, however. For the more DIY minded there are PVC designs that can accommodate any kayak, and are almost always cheaper to make than the alternative.
Where to Mount Rod Holders
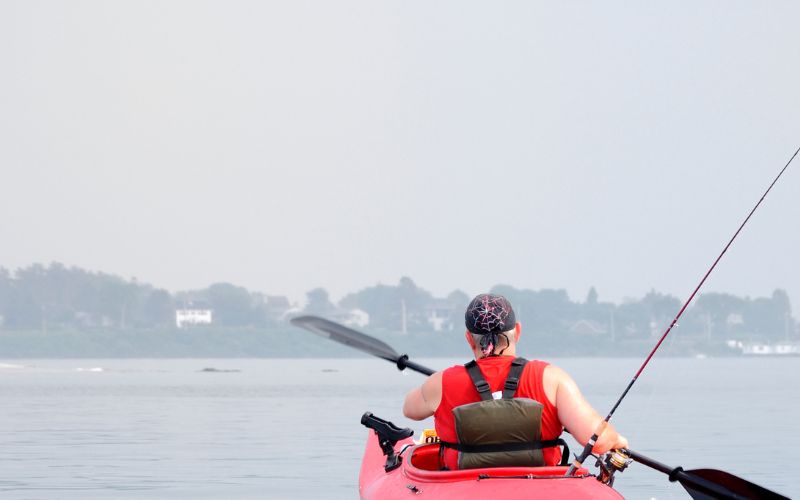
As you browse options, keep in mind where you want the rod holders to be located. The most optimal place is to mount them at a comfortable reach in front of you, far enough forward to be out of your way but still easily reachable when you get a bite.
The convenience of such a placement is contrasted by its relatively dominating position. If you plan on doing other things while you wait for a bite (or if you plan on using the rod holders only for travel) placing them behind you to leave the front of the kayak open is also a consideration.
How To Create Your Own Rod Holders With PVC

For those who are looking for a bit more of a challenge, custom rod holders can be fashioned from PVC pipe.
This option provides both the most rewarding and most work-intensive option for obtaining rod holders. The flexibility custom holders provide can allow you to modify your rod holder system to the exact specifications you need.
There is, however, a cost to this, and between sketching up plans for your PVC rod holders and the actual cutting and gluing of the whole thing together, this kind of project could take the better part of a week.
That doesn’t mean making your own rod holders has to be a chore. Just make sure you have a clear idea in mind for what you want your rigging to look like before you begin.
For most inflatable kayaks, rod holders are best installed using a full PVC frame set into the bottom of the boat. Instructions detailed below provide a clear path to such a system, but depending on the design of your boat you may need to make adjustments.
Whatever you end up doing, it would be worth your time to take a tour through a few of the videos of others who have done the same thing.
If you’re looking to build something similar to the one detailed below, NorCal Outdoor has a great video:

For a design a little more out there, Palm Circle Pete’s Video could provide you with just the inspiration you need:

Step 1) Planning and Equipment
For many inflatable kayaks, a PVC framework will be the best way to support rod holders. While lengths will of course vary, a simple cubical framework will usually be identical between kayak designs.
To craft a set of PVC rod holders for an inflatable kayak bed, you will need two , two , two , and one 1 ½” by 1” PVC reducer tee. In addition, you will want to procure a bunch of 1” PVC pipe (the amount will vary based on your individual kayak).
Step 2) Determine Lengths for Base
The next step will be inflating the kayak and measuring out the necessary pipe lengths. You will want to place the corner pieces such that they create a rectangular base at the bottom of the boat, with the two elbows at the back and the corners at the front.
From there it is a simple matter of measuring out how much PVC pipe you will need to connect the corners based on the size of your individual kayak. Remember to account for about ¼ inch on each connection for fittings once glue is added.
As you figure out the optimal length for each piece, mark the pipe with a sharpie to indicate where you plan on cutting it.
Step 3) Cut PVC Base to Size
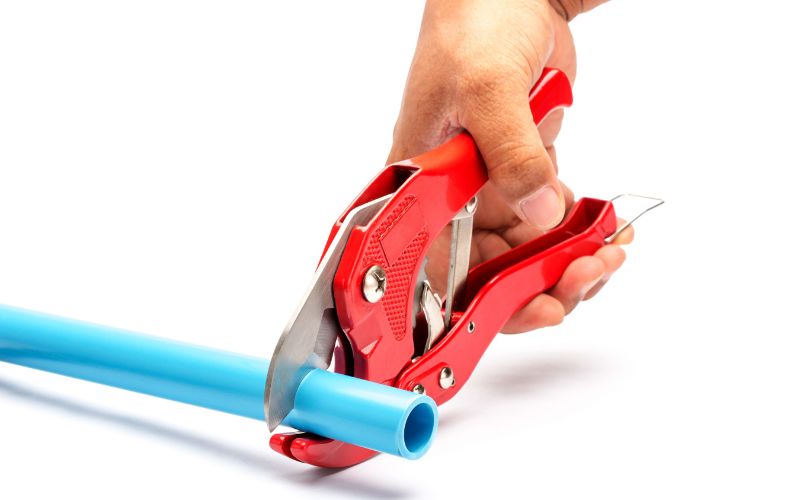

Use a to cleanly cut the pipe to the determined size. Make sure to check once again before you do so and ensure that each of the opposing lengths on the rectangle are equal in length.
Once you have the four necessary lengths cut to size, fit it all together without glue. Check that you are able to slide it in and out of the kayak and make any adjustments as necessary.
Step 4) Design Rod Holders
Each of the front two corner pieces of your base will serve as anchor points for opposing rod holders. To craft them, you will want to cut about a foot of pipe for each to clear the edges of the kayak before using elbow pieces to set an angle for the contraption.
Atop this base, the reducer tees will serve to actually hold the fishing poles. Use an inch or two of PVC to connect the tee’s 1” end to the elbow, leaving a straight tube attached at an angle for the poles.
Put everything together in the kayak and fiddle with the angles a bit until you find what is comfortable.
Step 5) Assemble, Test, and Glue
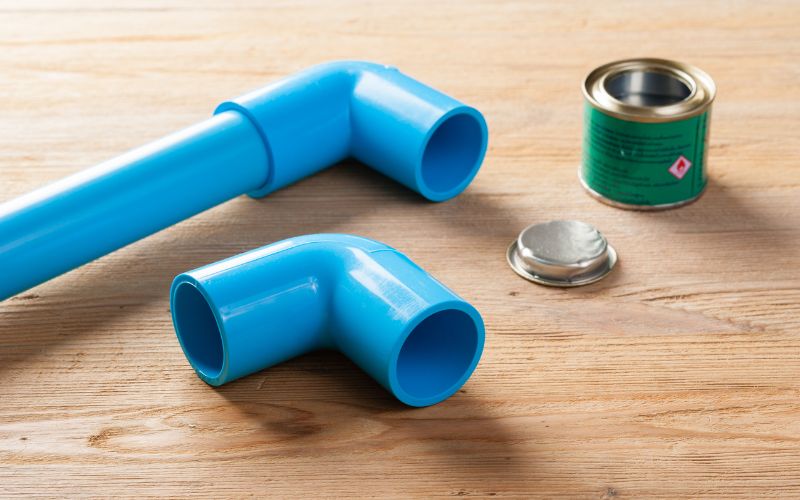

Removing the finished shape from the kayak, you will need to carefully glue everything in place. Detaching one or two connections at a time, follow the directions on the individual you use to cement each joint into place.
As you glue everything together, make sure to work on one side of the structure at a time, leaving the other side as a guide to help you get the angles right.
Once the structure is all glued up, look over everything quickly before it dries to see that it looks right, making adjustments as necessary. Once everything has set, use spray paint if desired to match colors with your kayak.
Conclusion
Whatever option you decide works best for you, trolling can be a rewarding sport that is only enhanced by the work it took to get out there. If you do end up making your own rod holders, share your work with us by posting it online with the hashtag #PVCFishing.

I created this site to help people – to help you – with your boat problems. Instead of helping one person at a time, I want this website to be the “one-stop-shop” for everyone’s boating concerns. Read more.