If you’ve been boating for any amount of time, you probably know to expect the unexpected. One of the problems you may run into is an outboard motor that won’t start.
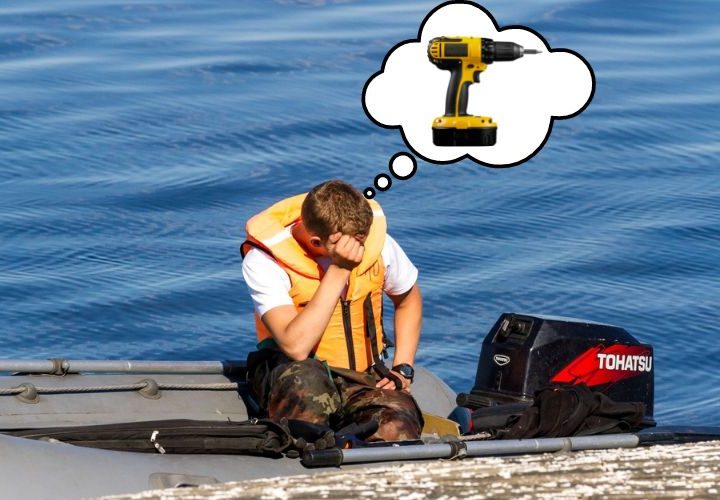
There may be any number of reasons for this failure, but most likely you have a dead battery or a damaged starter. If one of these problems occurs while you’re out on the water, you may find yourself swimming back to shore.
Fortunately, there are ways to get your outboard motor running even if your battery dies or your starter goes out. One method you may have heard about is the “drill” method.
But does it really work? Can you really start an outboard motor with a drill?
Keep reading to find out!
Table of Contents
Can You Start an Outboard Motor With a Drill?

If your outboard motor battery dies and you find yourself stranded on the water, you will probably start looking for alternate ways to get your engine running.
Chances are, you won’t have a drill on board with you unless you prepared ahead of time for the possibility of battery or starter failure. Perhaps that’s what you’re trying to do now–prepare for the unexpected.
So, you’re wondering: is it possible to start your outboard using a drill?
Technically, yes, it is possible. And if you find yourself in a pinch, it can be a useful solution to your problem. But using a drill to start your outboard motor can be dangerous.
This method of engine-starting involves exposing your motor’s flywheel, placing the drill on the bolt in the flywheel’s center, then quickly disconnecting the drill as the flywheel begins to spin. This process can cause several problems.
Some of the potential risks include:
- Hand or wrist injury: It can be difficult to anticipate the force put on the drill once the flywheel begins turning. If you aren’t properly braced for this force, and if you don’t disconnect the drill quickly enough, the force could break your hand or wrist.
- Losing the drill: Failing to anticipate the force or disconnect the drill in time can also cause you to lose your drill. The speed of the rotating flywheel can easily rip it out of your hands and send it flying into the water.
- Losing the bit: Even if you manage to hang onto the drill, you may lose the bit. The spinning flywheel can loosen the bit and cause it to go flying off as soon as you disconnect the drill.
- Damage to the nut or bolt: Depending on the type of drill you use, you can damage the nut or bolt of the flywheel. Impact drivers, for example, apply quick bursts of intense pressure which could cause the flywheel’s hardware to snap.
- Not enough torque: Conversely, some drills don’t apply enough force to get the flywheel turning fast enough. If you’re going to try this method, you’ll want to invest in a quality 18V drill that will spin quickly enough to start the motor.
How to Start an Outboard Motor With a Drill?
If you decide you still want to try starting your motor with a drill, check out this video for a good demonstration of how it’s done:
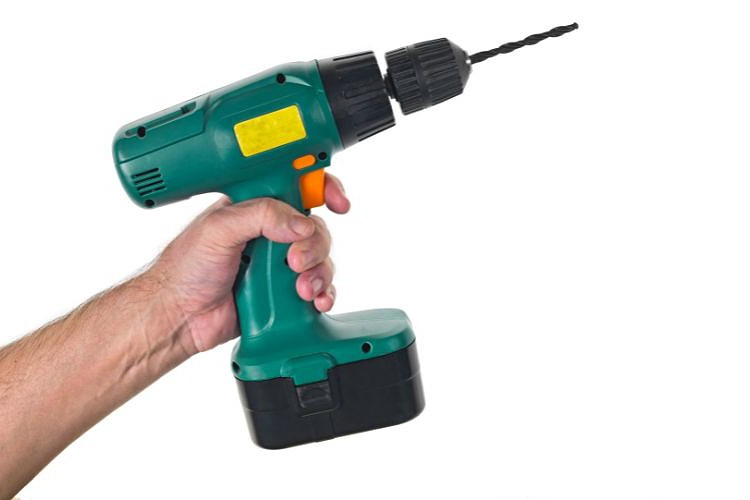
Before starting, it’s important to make sure you have a large enough drill–preferably an 18V, as mentioned above.
Tempting as it may be, don’t use an impact driver even if you think it’s small enough to avoid causing damage–you don’t want to risk expensive flywheel repairs.
It is generally recommended to use a corded power drill, though the one in the video above is cordless. Use whichever one you’re more comfortable with, but keep in mind, if you are stranded out in the middle of a lake, a cordless model will be your only option.
Follow these steps:
Step 1: Place the Motor in Neutral
You always want to make sure your outboard motor is in “neutral” before starting it up.
If you have it in forward or reverse, the boat may take off as soon as you get the flywheel spinning, which could send you tumbling overboard.
Step 2: Find the Correct Size Bit
Remove the cover from the motor to expose the flywheel. Inspect the hardware at its center to determine the size and shape of the bolt. Choose an appropriate-sized socket to fit over the bolt.
Step 3: Determine the Correct Rotation
It’s extremely important that you know which way your engine rotates. Manually turn the flywheel a couple of times; if it rotates to the right, the engine spins clockwise; if it rotates to the left, it spins counter-clockwise.
Your drill will need to spin in the same direction as the flywheel; so, if the motor spins clockwise, you’ll want the drill to rotate clockwise (or “forward”). For counter-clockwise, you’ll need to set the drill to the “reverse” setting.
Step 4: Start the Motor
Place the socket bit firmly over the bolt. Brace yourself as securely as possible in the boat.
Pull the lever to turn on the drill; start slowly, then increase the torque until the flywheel spins fast enough and you hear the engine turn over.
Step 5: Quickly Remove the Drill
Quickly and carefully pull the drill straight up to disconnect it from the flywheel, then let your finger off the lever to turn off the drill.
The flywheel should continue to spin on its own, and you’re ready to head back to shore.
Another Way to Manually Start an Outboard Motor
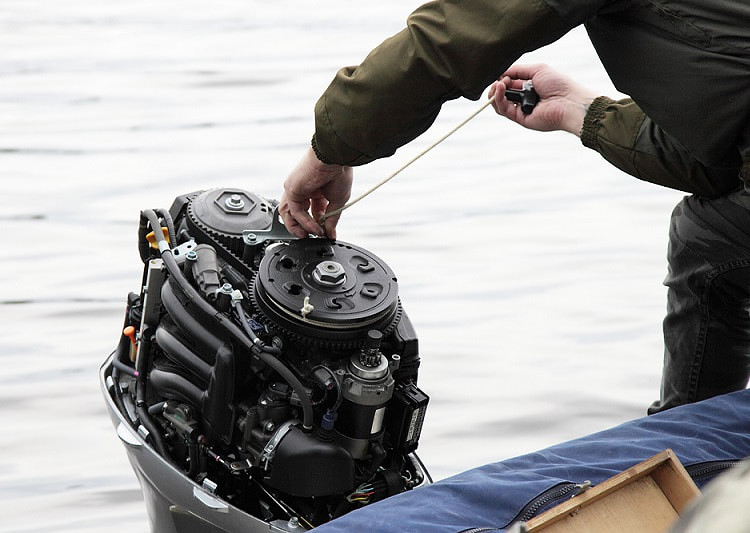
If you have to start your outboard motor manually, there are better ways to do it than using a drill. The best method is to pull-start the engine with a length of rope or paracord.

Wrap a few feet of rope around the flywheel, making sure to wrap it in the same direction that it spins. There should be a knot in one end of the rope, and this knot should fit securely in the notch on the edge of the flywheel.
Once the flywheel is wrapped, give it a quick pull and the engine should start right up.
For a good visual of this method, check out the video below.
Conclusion
It is technically possible to start your outboard motor using a drill, but doing so can be dangerous.
If you have to do it, use caution to avoid hurting yourself, damaging your motor, or losing your drill. Stay safe and good luck out there.

Sarah Hood has been writing for Anchor Travel since 2021. When she’s not writing, she enjoys cooking, singing, and spending time in the great outdoors.

