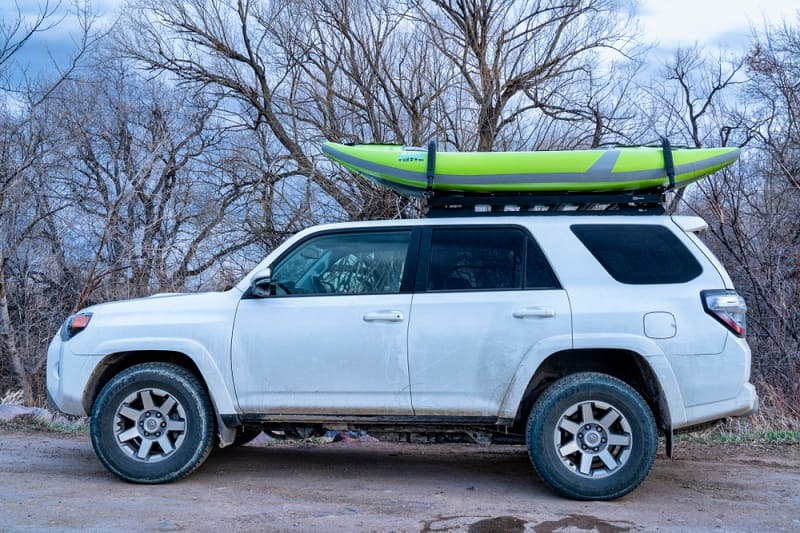
You’re ready to hit the water with your new inflatable kayak. Just one problem: how do you get it from your house to the lake?
Inflatable kayaks can be transported in different ways. You can deflate them, fold them, and carry them inside your car, or you can leave them inflated and strap them down to the top of your car.
In this article, we’ll take a look at both of these methods.
Table of Contents
1. The Prep Work
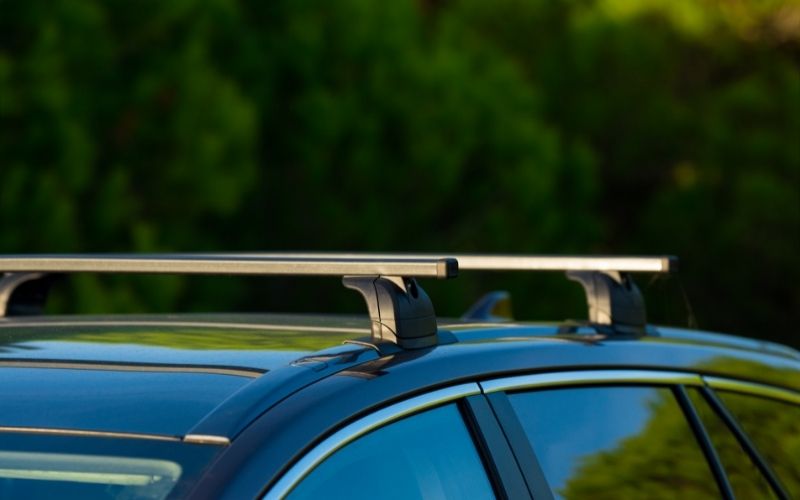
Before putting your inflatable kayak on top of your car, there are a few things you should do first:
- Make sure the top of the car is clean: You especially want to make sure there are no sharp objects or anything that could stain the bottom of your kayak. Quickly hose down the top of your car to remove any dirt or debris.
- Check the roof rack: If your car has a roof rack, check it to make sure it isn’t damaged, broken, or loose. If you don’t have a roof rack, you can still carry a kayak on top of your car; we’ll talk more about that later on in this article.
- Gather everything you need: If you get your kayak on top of your car only to realize you forgot the straps to tie it down, your kayak might be blown down in the wind while you go to find the straps.
Collect everything you need before putting the kayak in your car; it will save you time and hassle later. The items you will need include camp or ratchet straps, rope or paracord, and towels (optional). - Familiarize yourself with the proper techniques: It might help to watch a tutorial video before attempting to follow the steps in this guide. The following video is particularly helpful:
Once you’ve done all of these things, you’re ready to get started.
2. Place the Kayak on Top
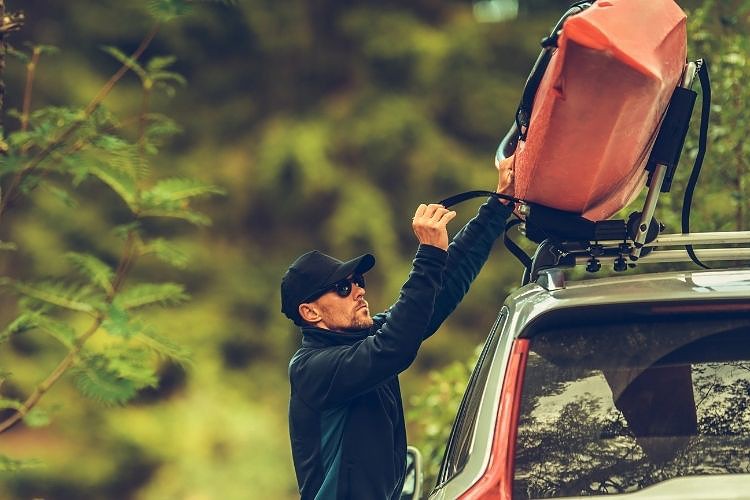
Strapping your kayak to the top of your car works best for shorter kayaks, but you can also put longer kayaks on top.
If you have a shorter kayak, simply lift it up and place it on the car top, making sure to center it as much as possible from side to side and front to back. If you want, you can place towels on top of the car beneath the kayak, but this isn’t necessary.
If you have a longer kayak, follow these steps:
- Position the kayak so it’s just to the front of the center of the car: Carry the kayak so it is in line with the car, with the bow a few feet in front of the car. The kayak should be on its side as you move it into position.
- Take the bow and lift it onto the car: Taking a firm hold toward the front of the kayak, lift and pivot the bow until the kayak is standing upright. Lean the kayak back against the car so the bottom is touching it. The kayak should be in line with the front doors.
- Take the stern and lift it onto the car: Picking up the bottom part of the kayak, lift it toward the back of the car, pivoting it so it sits flat when you lift it up.
- Center the kayak on top of the car: The kayak will likely overhang the front and back of the car by quite a bit. Adjust its position to make sure it is roughly centered, with the stern at the back, the bow at the front, and the sides centered on the top.
3. Secure the Sides
It’s best to use camp straps or ratchet straps for securing your kayak. You’ll need at least two of these straps, possibly three if you have a longer vehicle and a particularly long kayak.

To secure the sides of the kayak, follow these steps:
- Toss each strap over the kayak: Holding the strap buckle in your hand, toss the strap over the car and the kayak. One should be positioned near the front of the roof rack, the other near the back.
- Wrap the strap around the roof rack and toss it back over: On the other side of the car, wrap the strap through the roof rack to secure it, then toss it back over the car and kayak to the other side.
- Release some of the kayak’s air pressure: Open your kayak’s valves just enough to release some of the air pressure. This is necessary to keep your kayak from being damaged by the heat of your car and the sunlight. Replace the valves after letting a little air out.
- Wrap the strap again and loop it through the buckle: Wrap each strap around the roof rack on this side of the kayak, securing both sides. Thread the strap through the buckle and take up the slack.
- Tighten down the straps: You want to make sure the straps are tight across the kayak so it can’t move around on top of your car.
- Secure the strap tails: You will likely have a lot of excess straps after tightening the straps down. Loop the excess back through the roof racks and underneath the secured part of the strap to keep it from flapping around.
4. Secure the Bow and Stern

Depending on the size of your kayak and the make and model of your vehicle, you may find it’s not necessary or possible to secure both the bow and stern.
That said, you do need to at least secure the bow–otherwise, the airflow while you’re driving will loosen the straps and whip the kayak around, causing added resistance and possible damage.
If you can do so, it’s also a good idea to secure the stern, as this will provide the greatest stability and security.
Follow these steps:
- Insert paracord or rope through the D-rings: There should be a D-ring on the bottom of the bow and stern of your kayak. Insert a long length of paracord through the bow D-ring, and another length through the stern D-ring if you are securing both.
- Secure the paracord to the front and back of the car: Bring both ends of the paracord down toward the front bumper and loop one side through something secure, such as a tow hook. Tie a bowline knot in one end and loop the other end through the bowline.
Repeat this process at the back if you are also securing the stern. - Tighten the paracord: Pull the free end through the bowline until the paracord is tight. Tie one or two half-hitch knots in the paracord to secure it.
5. If You Don’t Have a Roof Rack
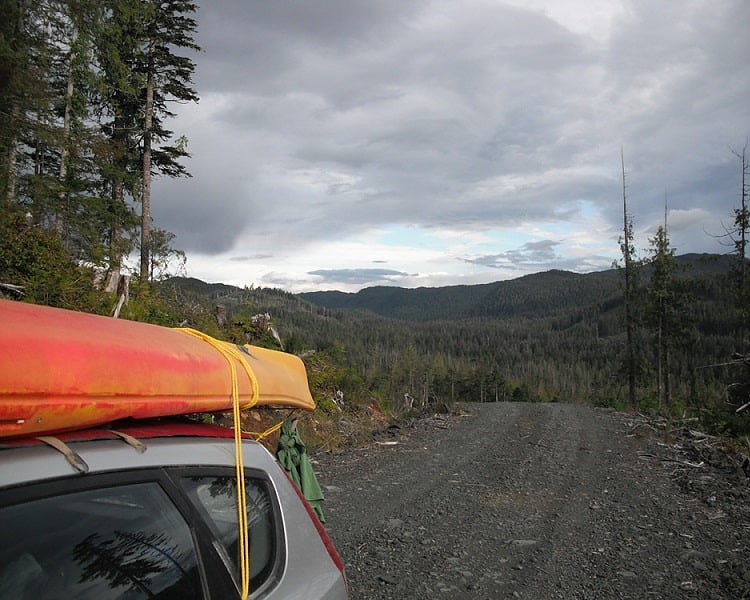
The above steps all assume that there’s a roof rack on your car; but what if you don’t have a roof rack?
Roof racks make the job a little easier, but you can still secure your kayak to the top of your car even if there’s no roof rack.
Follow these steps:
- Place towels on top of the car: Again, this isn’t necessary, but you can place towels on top of the car to help protect the bottom of your kayak. Placing towels like this may also help to absorb some of the heat from the car and sunlight.
- Place the kayak on top of the towels: You will place the kayak on top as outlined above. If it is a short kayak, simply lift it onto the car top; if it’s a longer kayak, follow the steps given previously in this article. Center the kayak.
- Secure the kayak sides by passing the straps through the car doors: Open the back doors of your car. Toss the ratchet or camp straps over the top of the car and kayak, then pass them through the open doors back to the other side.
One strap should be toward the front of the doors, the other should be toward the back. Release some of the air pressure from the kayak.
Pass the end of each strap through the buckle and tighten it down. Close the doors over the straps, making sure they close securely. Loop and secure the strap tails as discussed above. - Secure the bow and stern: Using rope or paracord, secure the bow to the front of the car and the stern to the back of the car (if desired). You will follow the same steps as outlined in the above section.
6. Deflated and Folded
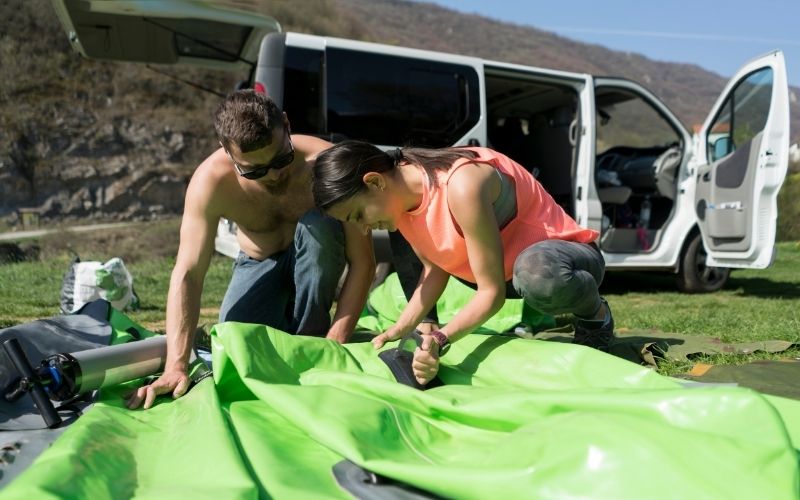
The best way to transport an inflatable kayak is not on top of a car but inside it.
Most kayakers agree that it’s easiest to transport an inflatable kayak fully deflated and folded up, carried inside the car. You will then inflate it at the lake or river, before putting it in the water.
This method of transportation saves space, allowing you to pack more than one kayak. It also keeps your kayak safe and clean, lowering the risk of damage, and preventing any airflow problems you might encounter with your kayak mounted on top.
Again though, there are different ways to transport inflatable kayaks, and their versatility is part of what makes them so popular. You may want to try different transportation methods and see what works best for you.
Happy kayaking!

I created this site to help people – to help you – with your boat problems. Instead of helping one person at a time, I want this website to be the “one-stop-shop” for everyone’s boating concerns. Read more.

