Inflatable boats are made to be durable, but no product is perfect. Sometimes, these boats may develop air leaks.
You may notice that one of the air chambers won’t stay inflated, or you may notice that the boat slowly loses air over the course of a few days. Perhaps you scraped the boat in a particularly rough stretch of water and, by the end of the day, you notice it’s losing air.
Whatever the circumstances, you know that you’ll have to repair the leak before taking your boat back out on the water.
Just one problem: how are you supposed to find the leak?
For that matter, how can you know for sure that the boat is leaking in the first place?
And once you’ve found the leak, how do you fix it?
Keep reading.
In this article, we’ll take a closer look at answering all of those questions.
Table of Contents
How Do You Know if Your Inflatable Boat is Leaking?

Sometimes, it’s hard to spot an air leak.
If there isn’t a visible tear in the fabric of the boat, you may not be able to see where the air is leaking from. Small leaks may be too small to see and will cause the boat to deflate much more slowly than larger leaks.
The leak may be so small that you don’t even notice the boat chamber slowly deflating. By the time you notice that one of the chambers has lower air pressure than the others, the boat could have been leaking air for days.
Another complication is cold weather. The cold causes air pressure changes within the boat chambers, which may cause the boat to look saggy and deflated even if there is no leak. If you know this, you may suspect a pressure change even if the actual cause is an air leak.
So how can you find out if your boat is actually leaking?
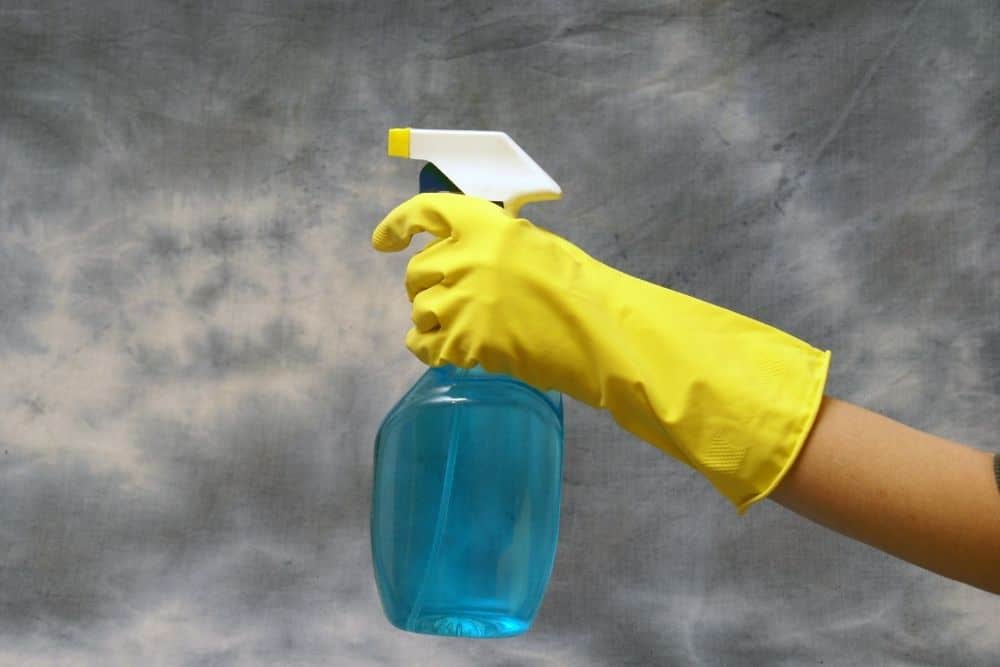
There’s a simple test you can do to help you find the leak, if there is one. All you need is a spray bottle, any kind of soap, and some water.
Keep reading to find out about how to perform this test!
How Do You Find an Inflatable Air Leak?

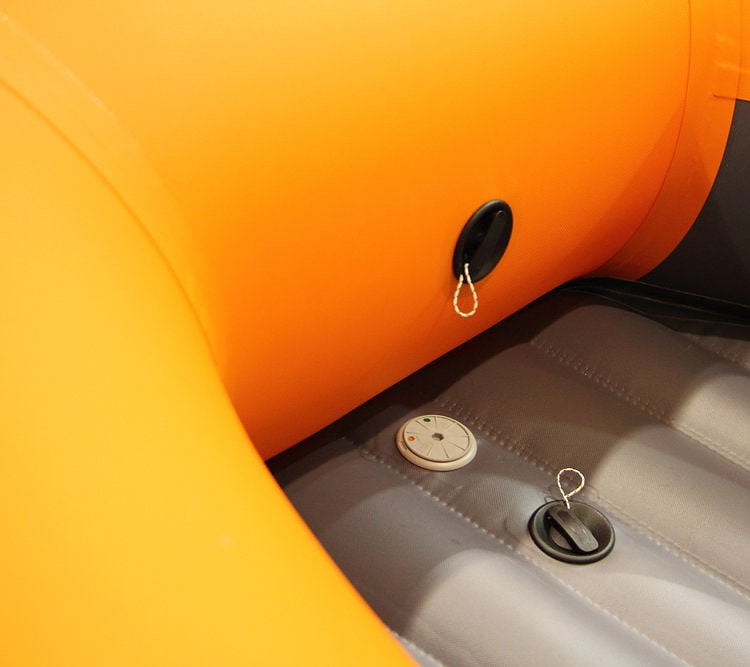
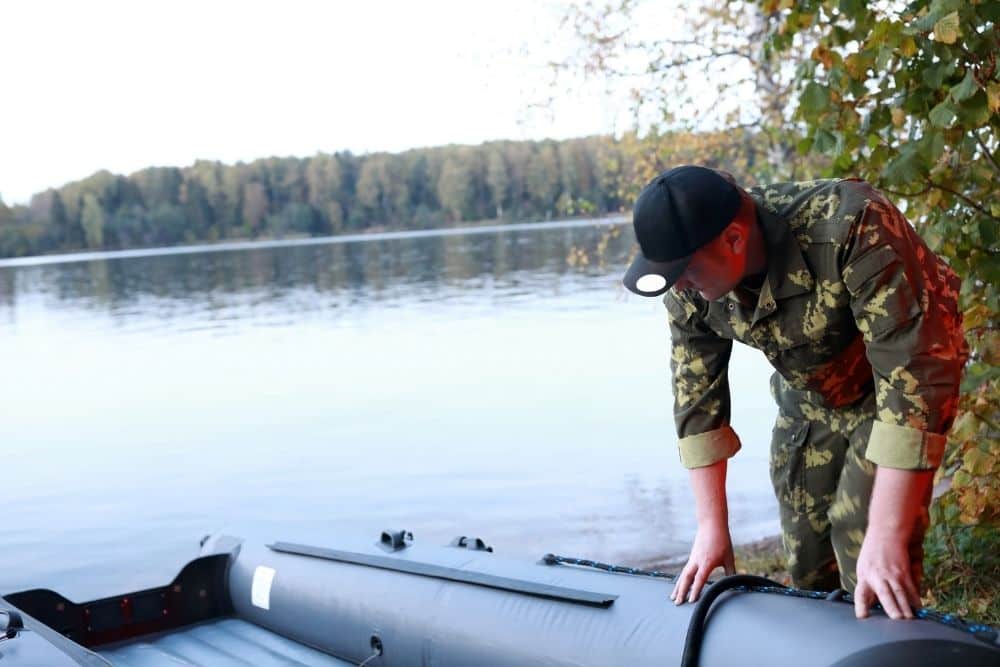
The first thing you should do is fully inflate your boat and listen for any sort of hissing or whistling sounds. If you can’t hear anything, check all of the air valves by placing your hands around them and visually inspecting the O-rings.
Faulty air valves are the most common cause of air leaks in inflatable boats, so you should always check them first. If none of the valves appear to be leaking, run your hands along all of the seams, checking for air movement.
Finally, look over the fabric for any tears or holes, running your hands over the surface to feel for air moving.
If you can’t see or feel any areas of concern, it’s time to take things to the next level.
Take any kind of soap you have readily available – dish or laundry detergent, hand soap, or shampoo. Mix a small amount of the soap with water in a spray bottle.

Spray the soapy solution around the valves and seams. You may want to do one small area at a time, so the process may take a while.
Allow the soap to sit for at least a few minutes–if you have a very small leak, it may take much longer. Eventually, if air is escaping, it will cause bubbles in the soapy solution.
After testing the valves and seams, check the rest of the boat. Spray the solution over one area of the boat at a time and wait. If bubbles begin appearing, then you’ve found your air leak.
Of course, your boat may be leaking in multiple spots. That is why it’s a good idea to test the whole boat and not stop at the first leak you find.
If you find multiple leaks, you may want to mark them with a washable marker so that you can find them again when you go to repair the boat.
How Do You Fix a Leak in an Inflatable Boat?

So you’ve found all of your leaks; now what do you do?
How do you fix the leaks in your inflatable boat?
The methods for fixing the boat may depend on the part that is leaking air.
If one or more of the valves are leaking, it might be a good idea to have them professionally replaced. If you would rather do it yourself, check out a good tutorial video before starting.
Leaky seams may need to be resealed. Again, you may want to have this professionally done, but if you choose to do it yourself, a video like the one below may be helpful.
If there is a tear in the surface of one of the boat chambers, you will probably be able to repair it yourself with the patch kit that came with your boat when you bought it. Simply follow the directions included with the patch kit.
For a more in-depth discussion on fixing leaks in your inflatable boat, check out this article.
Conclusion
And there you have it!
If you suspect your inflatable boat is leaking, it may take some time to find the leak. Fortunately, in many cases, you can easily locate the leak at home by using a soapy water solution on the boat’s surface.
Depending on where the boat is leaking from, you may be able to repair it at home as well.
Having an inflatable boat leak may be concerning, but if you follow tips listed in this guide to find and fix the leak, you’ll be back on the water in no time!

Sarah Hood has been writing for Anchor Travel since 2021. When she’s not writing, she enjoys cooking, singing, and spending time in the great outdoors.

