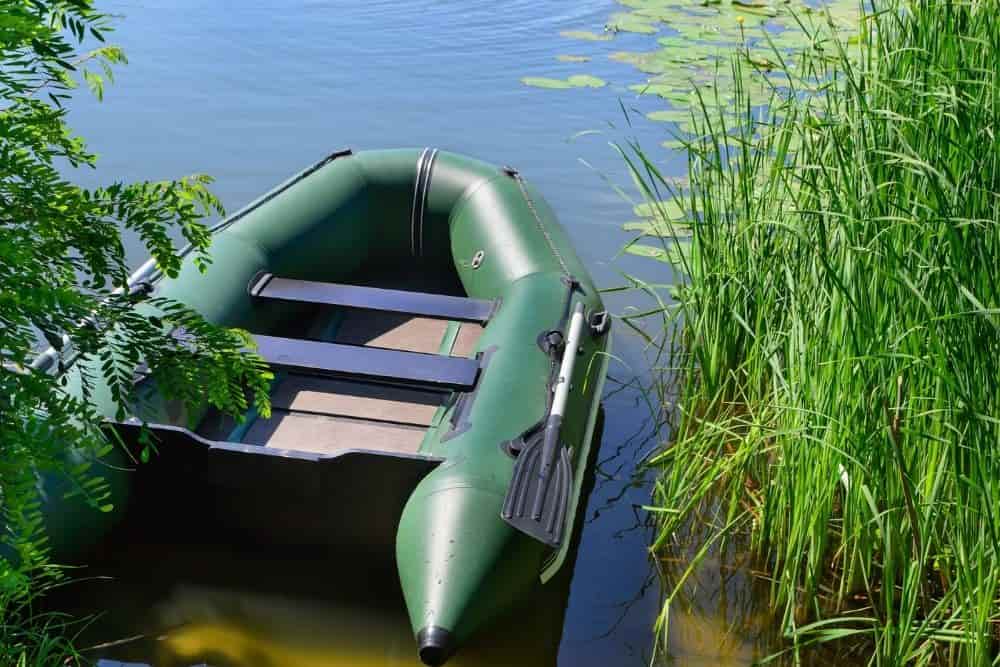
Many rigid inflatable boats come with a transom made of marine plywood or aluminum. You can use this transom for mounting trolling motors or rod holders as well as for strapping gear down. You can also use them to hold onto while your boat is speeding through the water.
But what if the transom breaks?
What if the plywood begins to rot?
What if the transom itself is undamaged but begins to separate from the boat?
Is it possible to fix the transom, or will it have to be replaced? Can you do the work yourself, or will you have to take it to a repair shop?
Keep reading.
In this article, we’ll talk about the various problems you may encounter and how to repair the transom on your inflatable boat.
Table of Contents
Different Ways to Repair Your Transom
If you’re a do-it-yourselfer, chances are good that you’ll be able to repair your inflatable boat transom on your own. Most problems that you may encounter with your transom are relatively minor and simple to fix.
If you’re looking to repair a damaged transom, then it’s likely that the transom is either physically broken, rotted out, or coming unglued from its mounting.
Let’s take a look at how to fix each problem in turn.
If the Transom is Broken

If you were caught in harsh rapids or experienced a boating accident, your transom may have sustained damage such as cracks and broken pieces.
If any parts of the transom broke off, you may be able glue them back in place using marine-grade wood glue.
That said, you’ll more likely be dealing with cracks in the transom. You may be able to repair the crack using the methods in this video.

In most cases, depending on the extent of the damage, you may have to simply replace the transom. To do this:
Step 1
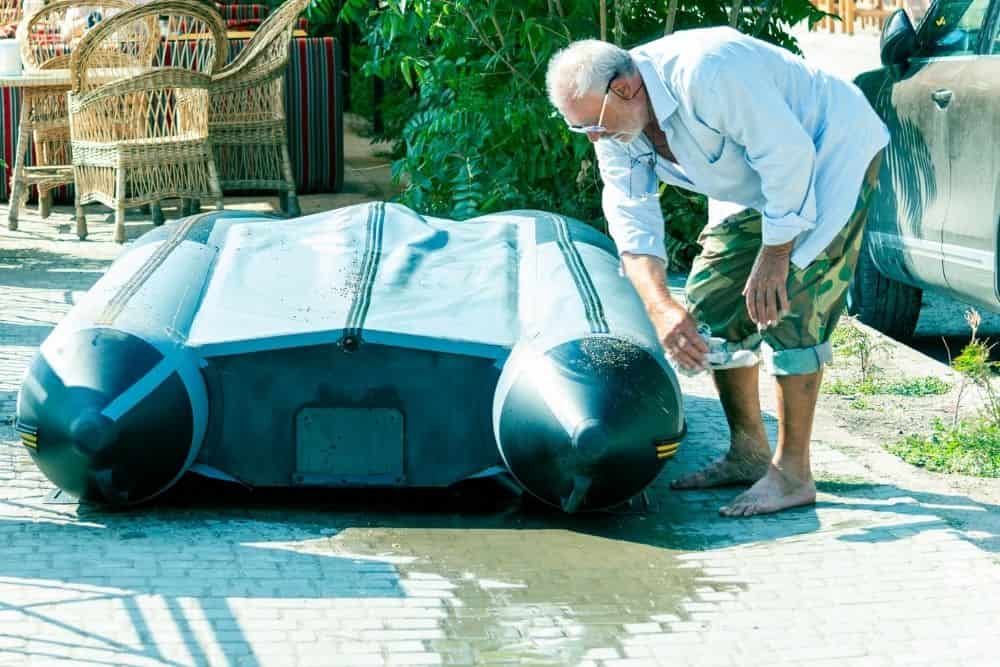
First make sure that the boat is completely dry before starting. You don’t want to do this repair right after taking your boat out of the water.
Step 2
Remove the damaged transom by applying low levels of heat over the seams where it is mounted to the boat. Typically, the transom will be glued in place, so the purpose of the heat is to soften up the glue enough to separate the transom.
Be careful that the heat you use isn’t too intense! High heat may damage the PVC seams and possibly the inflatable boat chambers.
Alternately, you could use a methyl-ethyl solvent instead of heat to soften up the glue.
Step 3
Once you’ve removed the old transom, clean the old glue and any dust or debris from the seams. Again, you could use a solvent for this if any of the glue is still stuck on. You could also wipe away any debris with a cloth, or use a vacuum to clean the area.
Step 4
If you are making a replacement transom from plywood, follow the steps outlined in this article. In most cases, it would probably be best to simply buy a replacement transom that will fit your boat.
Make sure to take measurements and order the proper size and shape. If possible, buy a replacement transom that’s made specifically for the type of boat you have.
Step 5
Apply PVC glue in even layers over the insides of the seam. You may need to apply more than one layer; follow the directions included with the glue.
You’ll also need to apply the glue to the edges of the transom.
Press the transom firmly into the bottom of the seam. Hold the transom in place for a few minutes to make sure the glue sets.
Step 6
Repeat this process with the side seams, starting at the bottom and moving up the side of the transom and the inflatable chamber.
Inflate the chambers and use ratchet straps to press the sides firmly against the transom.
Apply glue to the side flaps of the seam. Use a wedge tool to remove any air bubbles as you press the side flaps up against the transom.
Step 7
Glue down any other seams and flaps. Allow the glue to dry according to the manufacturer’s directions.
For a visual demonstration of this process, check out this video.

If the Transom is Rotted or Rusted
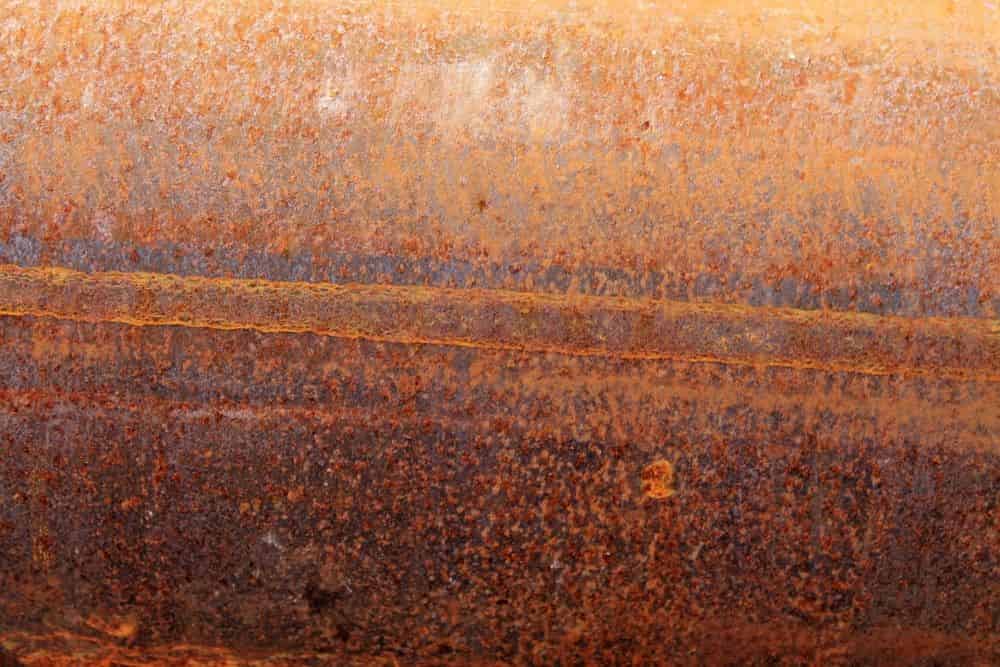

Older inflatable boats will likely experience wear and tear with repeated uses. Over time, water may seep down into the seam, causing wood transoms to rot and aluminum transoms to rust.
If you find that your transom is weakening and breaking loose of its mounting due to rot or rust, you’ll need to remove and replace it. As noted above, you’ll want to do this when the boat is fully dry.
To replace a rotted or rusted transom:
Step 1
Use heat or or a methyl-ethyl solvent to soften up the glue, as noted in the section above. If the rust or rot has severely damaged the transom, it may break with a part of the transom still glued into the seam.
If this happens, it will be a little more challenging to remove the part that’s still attached to the seams.
Continue applying the heat or solvent, being careful not to damage the PVC seams, until the glue has loosened enough that you can fold away the seams from the part of the transom that’s still attached to them.
Step 2
Clean the seams well, making sure to remove any glue residue, pieces of rotted wood or rusted metal, along with any other dust or debris.
Step 3
Use PVC glue along the seams and the edges of the transom, applying according to the manufacturer’s directions.
Step 4
Set the new transom into the seam and secure with ratchet straps, as outlined above. Glue the seam flaps and bond them to the transom using a wedge tool.
Step 5
Allow the glue to dry.
Step 6
As you can tell, the process for dealing with a rotted or rusted transom is much the same as dealing with a broken transom. If you’re wanting to try something a little different, and are good at do-it-yourself projects, check out this video.

If the Transom Has Come Unglued
Sometimes, the transom will simply come loose from the seams due to either wear and tear or a low-quality binding.
If this is the case, you may not even have to use heat or solvent to remove the transom. Depending on how loose it already is, you may only have to wiggle it around a few times to get it to come completely free of the seams.
If there is no structural damage to the transom itself, you will simply need to reglue it into the seams.
Follow the steps outlined above to clean the seams, apply PVC glue, and set the transom in place.

Again, it’s super important to make sure both the seams and the transom are free of moisture and debris before trying to reattach the transom. You want to make sure it will not start to come loose again after you’ve repaired it.
Remove all the air bubbles from the seams as you attach them to the transom, glue down all the loose flaps and seams, and allow the glue to dry fully before using it.
For a more step-by-step process, check out this video.

Conclusion
And that’s all there is to it!
Follow the steps in this guide to effectively repair and replace a transom on your inflatable boat. Keep in mind that the process may take some time; but with a bit of effort and patience, you’ll soon have your boat looking and performing like new once again!


Sarah Hood has been writing for Anchor Travel since 2021. When she’s not writing, she enjoys cooking, singing, and spending time in the great outdoors.