
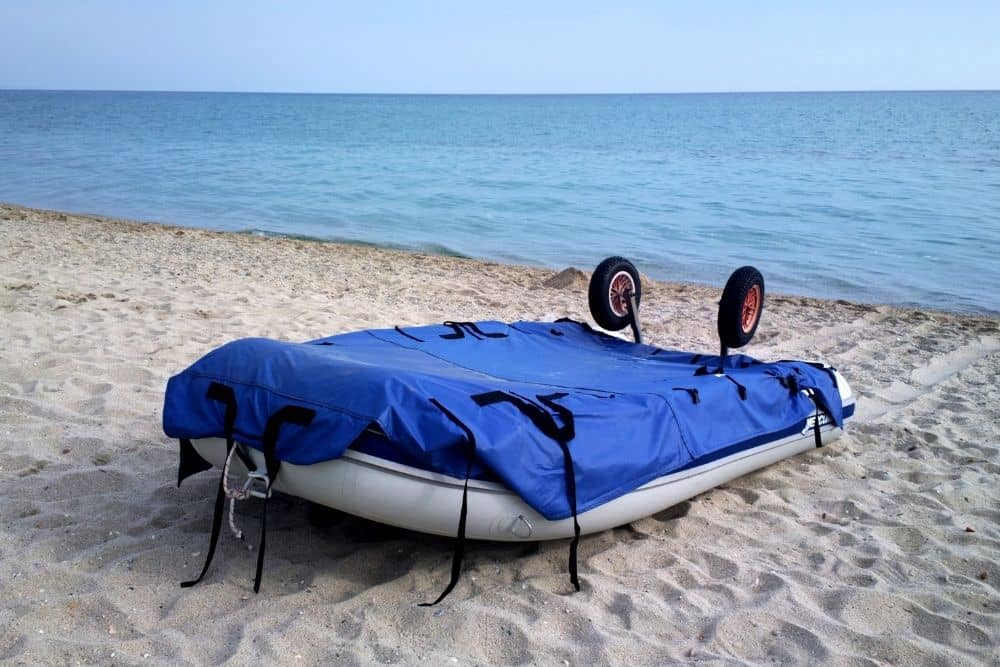
Did you know that covering an inflatable boat is key to extending its lifespan? It’s true! You need to cover your boat during the off-season (usually winter) or anytime you don’t plan to use it for a while.
It’s important that you get your boat cover on correctly. That way, your boat will be maximally protected. Since boat covers can be expensive, here are some good ways for you to make your own cover for your inflatable boat.
Table of Contents
How to Cover Your Inflatable Boat with a Tarp

When covering your inflatable boat, you’ll want to make sure that as much of the boat is covered as possible. This includes the bottom, though covering that entirely may be difficult. If you cover as much of it as possible and store it in a place that is dry, it should be fine.
If possible, cover your boat with a single tarp. This gives you maximum protection because it means that there are no seams where dust, rodents, or other debris can make their way onto your boat.
Tarps come in sizes up to 30’ x 40’ and they can be made with custom dimensions, too.
Once you have your tarp, take note of any sharp items or protuberances on your boat. These can include things like antenna mounts, etc. Cover these with rags or duct tape so they don’t tear your tarp.
Next, get some PVC pipe. The exact lengths and pieces will be determined by the length of your boat. Build a frame that will sit inside your inflatable boat or attach to it.
In general, you want to make an A-frame structure that runs the entire length of your boat. You will need one long piece for this, as well as several pieces of PVC that will support it on either side.

This frame will keep the tarp off of your boat and will prevent sags in the tarp from water accumulation, etc. It is the best way to protect your boat from damage during the winter.
The video below shows how one person built a frame to protect their boat. Note that it is not an inflatable boat, so you won’t be able to follow his directions exactly. However, it will give you a good idea of how to build the frame and attach it to your boat.

Once you have your frame in place, secure your tarp tightly around it. You may want to tie the tarp into place or use duct tape to hold it there.
If you choose tape, make sure you don’t stick the tape directly to your boat. Only tape the tarp to other sections of itself. If you need to access your boat while it is covered, make sure that you have a place where access is easy.
How to Shrinkwrap Your Inflatable Boat
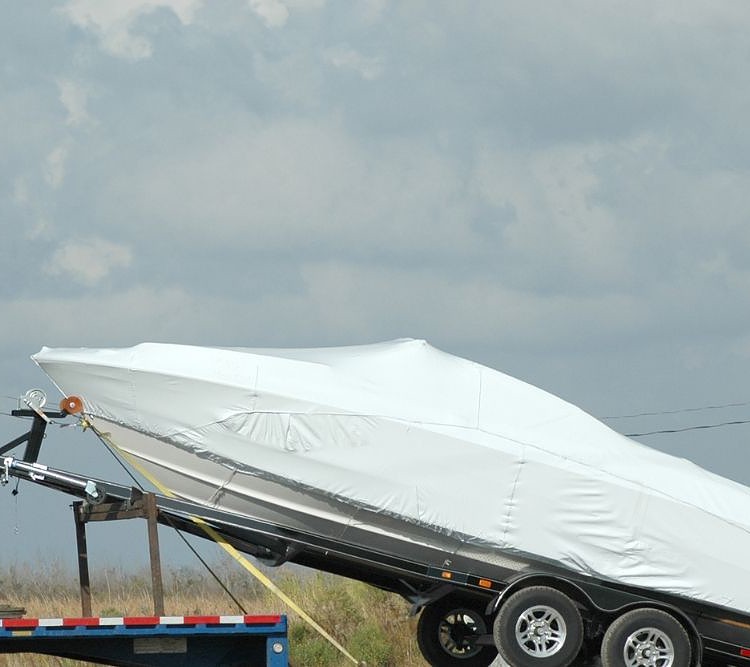

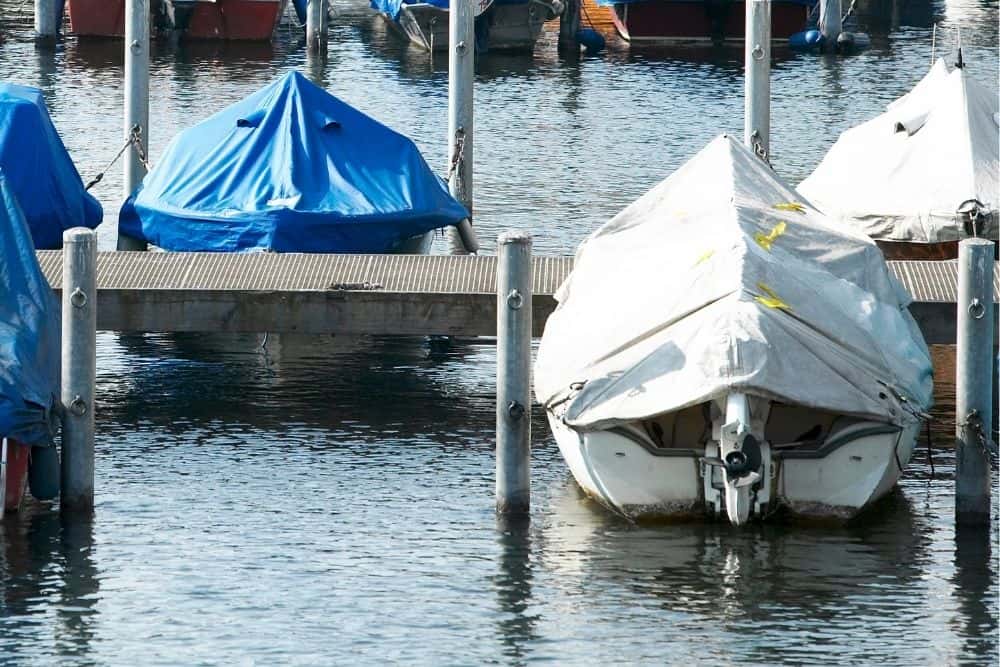
Many people choose to shrink wrap their boats during the winter. This is not normally recommended for inflatable boats, since the heat used on the wrap can damage the boat. However, when done properly, it is possible to shrinkwrap an inflatable.
Note that you do this at your own risk. Some inflatable boat owners swear by shrinkwrap, but you will need to decide if the potential risk to your boat is worth the reward of having a shrink wrapped boat. Here is an example of inflatable boats being shrink wrapped.

Shrinkwrap can be especially useful on rigid inflatable boats (RIBs). Since the bottoms of these boats are not made of inflatable material, there won’t be as much of a risk of you putting a hole in your boat with the heat.
To shrinkwrap your boat, you will need:
- Shrinkwrap
- Shrink tape
This video will show you what those supplies look like as well as list optional supplies that you can also buy.

Once you have your supplies, here’s how to use them.
- Tie a band around the boat with shrink tape. Note that this will be easier if the boat is on a trailer.
- Make posts from scrap wood or from PVC, as outlined above. Set these in your boat to keep the shrink wrap from sagging.
- Cover your boat with a protective layer. Make sure that this is something that will not be negatively affected by heat. You can use heat-resistant fabric or another material of your choosing.
- Cover your boat with a piece of shrinkwrap. Make sure that it is even on all sides and that it entirely covers the part of the boat you want to protect.
- Tuck the shrinkwrap under the band you tied around the boat.
- Carefully heat the shrinkwrap on both the top and the bottom of the band.
- Fold the heated pieces together until they form a seal.
- Continue this process until you have made your way around the entire boat.
- Use small amounts of heat on the top part of the shrinkwrap. You should see it contract. This gives your boat even more protection because it makes it harder for anything to get inside your wrap job.
This video will show you the shrinkwrap process in action. Keep in mind that this was not done on an inflatable boat, so you will need to take extra measures to make sure that you do not harm your boat with the heat gun.

Once you have your shrinkwrap cover in place, store your boat for the winter. If you didn’t cover the bottom of it, make sure that it is stored on a trailer or in a dry place where it will not get wet or be available for pests to access it.
Conclusion
No matter how you choose to cover your inflatable boat, the important part is that you do get it covered. That way, you can be sure that it will be protected all winter and will not be negatively affected by pests, mold, or other problems.
If you don’t want to cover your own boat, you can always talk to the yard where you store it or to boating professionals. They will be able to get it covered for you for a fee. Either way, you’ll know for sure that your boat will stay protected this winter.

I created this site to help people – to help you – with your boat problems. Instead of helping one person at a time, I want this website to be the “one-stop-shop” for everyone’s boating concerns. Read more.