Do you have a paddleboat but want to take a break from pedaling?
Pedal or paddle boats (whichever way you want to call it) are a fantastic way to get some exercise while cruising around the waters.
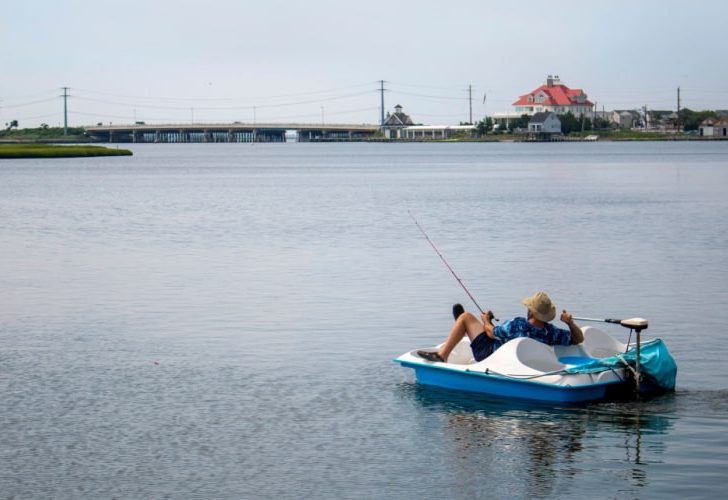
But what if you need a break from pedaling? Can you put a trolling motor on a paddleboat?
The short answer is yes!
We’ll share with you step-by-step how to add a trolling motor onto your paddle boat, so you can navigate through waters effortlessly.
Let’s begin!
Table of Contents
What is a Paddle Boat?

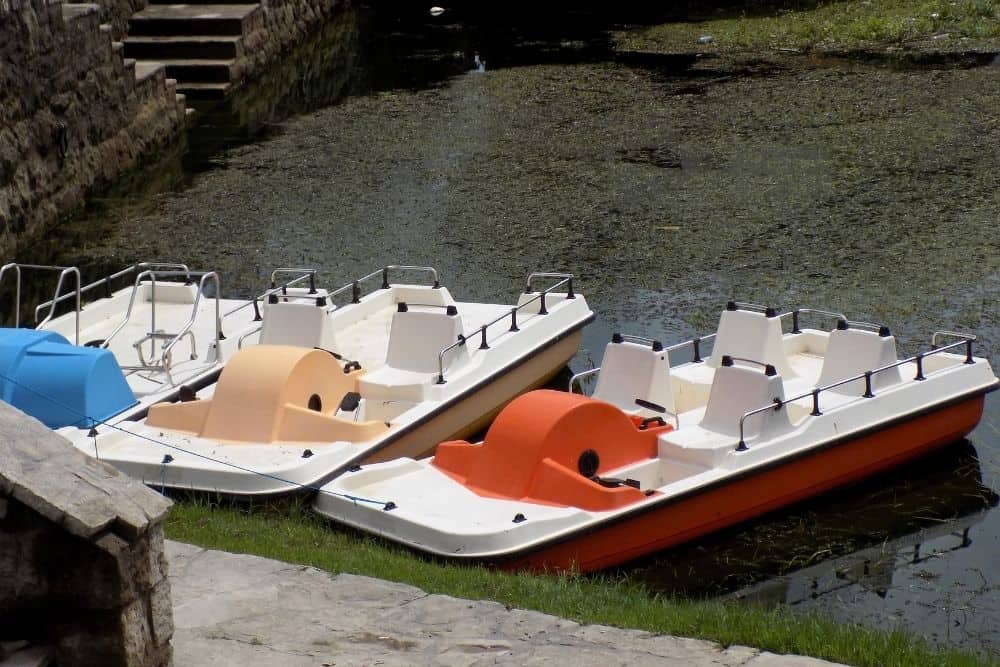
A paddleboat is a human-powered watercraft that utilizes pedals, which turns the paddle wheels of the boat. Users will bicycle their feet while sitting inside of the boat to move the watercraft along the water. It’s a great mode of transportation for calm waters like ponds, lakes, and beaches.
To steer the paddle boat, you’ll apply more pressure to the right or left of the pedal, depending on the direction you want to go. The wheels are located in the center and act as a paddle when the wheels are spinning.
How to Install a Trolling Motor on a Paddle Boat

Here are three methods you can use to install your trolling motor into a paddleboat.
Install By Placing It Through the Front of Your Boat
The idea of how you’ll install the trolling motor is that you’ll put the trolling motor through the front of the boat rather than using a complicated motor mount like how you would with other watercraft.
Follow these closely to install your trolling motor onto the paddle boat:
- First, remove the head from the shaft. Keep in mind you’ll have to reattach the head once you’ve put the motor through your paddle boat. To remove the head, you’ll need to take out the screws located on the bottom of the head. When all of the screws are removed, you can take the lid off.
- Next, you’ll need to disconnect the wires in the head that go down to the motor. Make sure you jot down where each wire connects to, so you can put them back later. Simply pull out the wires that connect to the shaft.
- Once the wires are out, you can pull the head off the shaft.
- You’ll need to use a hole saw and drill in the front middle of your boat. Make sure the hole is the same diameter as your PVC pipe. Also, the PVC pipe needs to be long enough to reach the top and bottom of the boat.
- Adapt the steel galvanized floor plate to the PVC.
- Place the PVC pipe down the hole to help keep your trolling motor from moving around. Secure the floor plate by screwing it in by using some nuts and bolts.
- Next, you’ll need to flip the boat over. You’ll still need additional PVC pieces that connect to all sides of the boat on the bottom. Make sure to measure the distances so that it fits nicely when you attach them. In this case, you’ll need a three-sided PVC that connects to your vertical PVC pipe and two sides of the boat.
- Now you’re ready to add the trolling motor. Simply place the motor’s shaft through the bottom of the boat inside of the PVC piping. The shaft should stick out on the top so that you can add the head back on.
- Pull the wires from the shaft of your trolling motor and reconnect them back to the head of the motor.
- Screw the head back into place. Then connect your motor to your battery, and you’re ready to go!
Using a Motor Mount Kit to Install Trolling Motor
Using a motor mount for an inflatable can work for a paddleboat. Here’s an example of how it’ll look like.
The challenge with this method is that you’ll have to turn back while steering because these are usually designed to be mounted on the transom.
This method doesn’t require any additional tools or complicated installation steps.
For example, the Intex Motor Mount Kit offers thumb screws to piece the motor mount kit in place. Then simply attach the trolling motor onto the mount, and you’re ready to go.
- Quick Set Up: Attaches in just minutes with the following inflatable INTEX boats with rear mount fittings: Challenger 3 - Seahawk 2, 3 and 4 - Seahawk II - Excursion 3, 4, and 5 - Mariner 3 and 4.
- Durable: Constructed with heavy-duty composite mount with aluminum support arms to effortlessly cruise across the water with motors up to 3.0 HP (motor not included).
Last update on 2026-02-07 at 18:48 / Affiliate links / Images from Amazon Product Advertising API
Here’s a video on installing a motor mount kit:
Building Your Own DIY Transom Mount
Of course, if you don’t want to use a motor mount kit, you can always build your own transom mount out of plywood.
You’ll need to measure out the plywood to cover most of the distance in the transom area. Then cut out plywood and screw it to the rear of your boat.
Next, you’ll need to cut out two wood pieces shaped like a trapezoid and screw them into the long piece. Finally, you’ll be able to securely clamp your trolling motor onto the center of the mount you’ve just created.
Final Thoughts
Motorizing your paddle boat might sound impossible, but with a little creativity, it’s possible.
If you’re someone that struggles with assembling things, you may want to try the mount kit clamp first.
But if you prefer having the trolling motor in the front for easy access, you may want to put in the additional effort to drill a hole into the front section of the boat.
Now that you know how to put a trolling motor on your paddle boat, you can ride with ease.

I created this site to help people – to help you – with your boat problems. Instead of helping one person at a time, I want this website to be the “one-stop-shop” for everyone’s boating concerns. Read more.


Craig Williams
Thursday 24th of June 2021
Nice job but you destroyed the ability to paddle OR troll.