
Setting up an inflatable boat may sound simple: just blow it up, and you’re done, right?
Unfortunately, it’s not that simple. There are a few kinks most new boat owners experience run into when setting it up for the first time.
You’ll need to get a few things right such as installing the floorboards correctly, air pressure, and inflation order.
Don’t worry; we’ll provide you with the steps on how to assemble an inflatable boat no matter what type of inflatable boat you have (RIB, kayak, pontoon, etc.) and whether you have an air floor or hard floor.
Also, we’ll share some tips on how you can get it right the first time and make this process go smoothly.
Let’s dive in!

Table of Contents
- How to Assemble Inflatable Boat With a Hard Floor and Keel
- Air Floor (Dinghy)
- Assembly Tips for Inflatable Dinghies
- How to Install an Inflatable Kayak (or Pontoons)
- Step 1: Unfold and lay out your kayak.
- Step 2: Pump up the floor chamber.
- Step 3: Fill the wall chambers to about 60 to 70% capacity.
- Step 4: Spot-check the positioning of the floor chamber.
- Step 5: Fill each wall chamber to 100%.
- Step 6: Inflate or insert your seats.
- Step 7. Insert your skeg.
- Recommended Air Pressure for Inflatable Kayaks
- Air Pressure
- Safety Checks Before Entering the Water
- Final Thoughts
How to Assemble Inflatable Boat With a Hard Floor and Keel

Follow this step-by-step guide to assemble your inflatable boat with a hard floor.
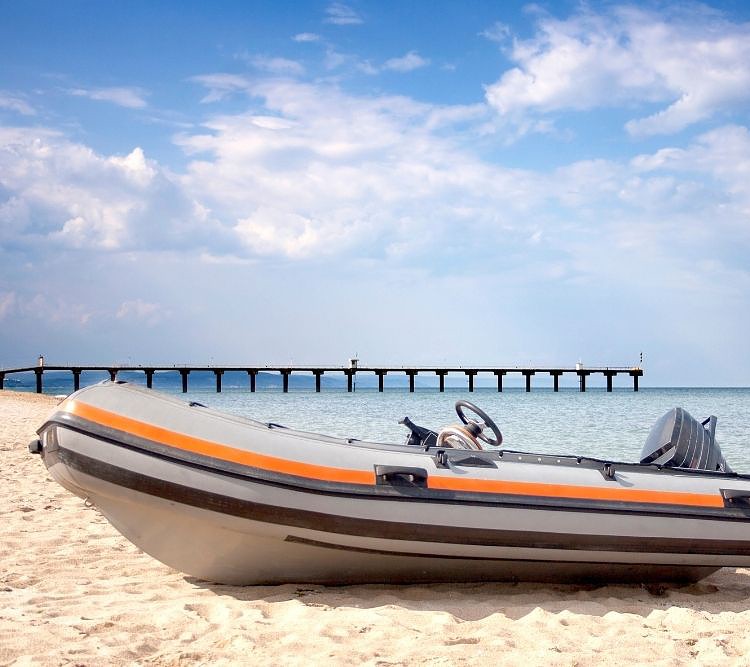
Keep in mind these steps are applicable to RIBs, an inflatable dinghy (inflatable sports boat), and an inflatable raft. If your boat has an air floor, make sure to read the section about how to inflate the air decks.
Step 1: Layout your inflatable
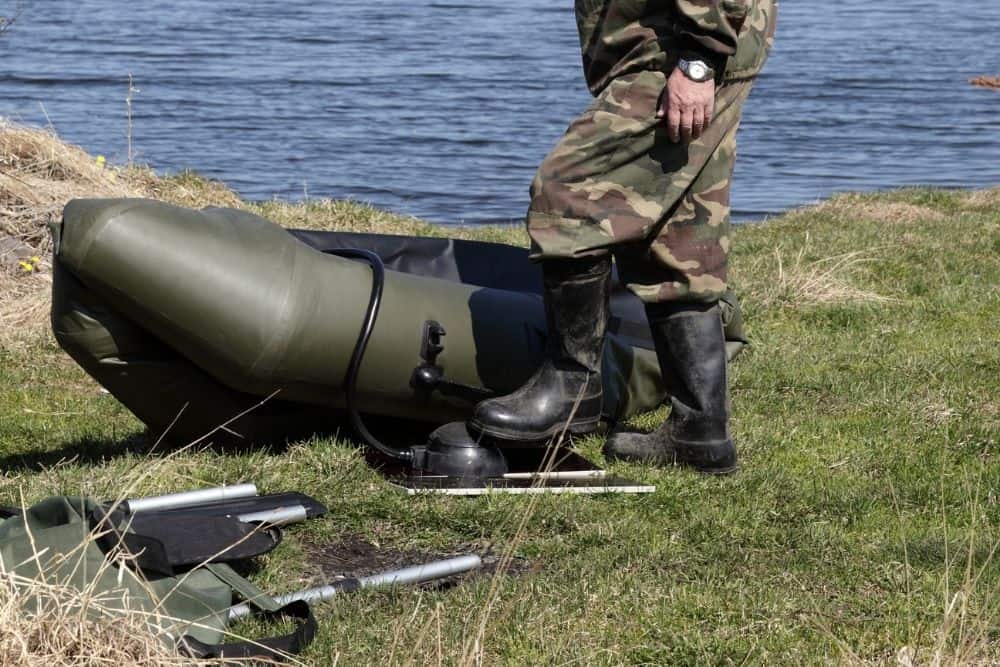
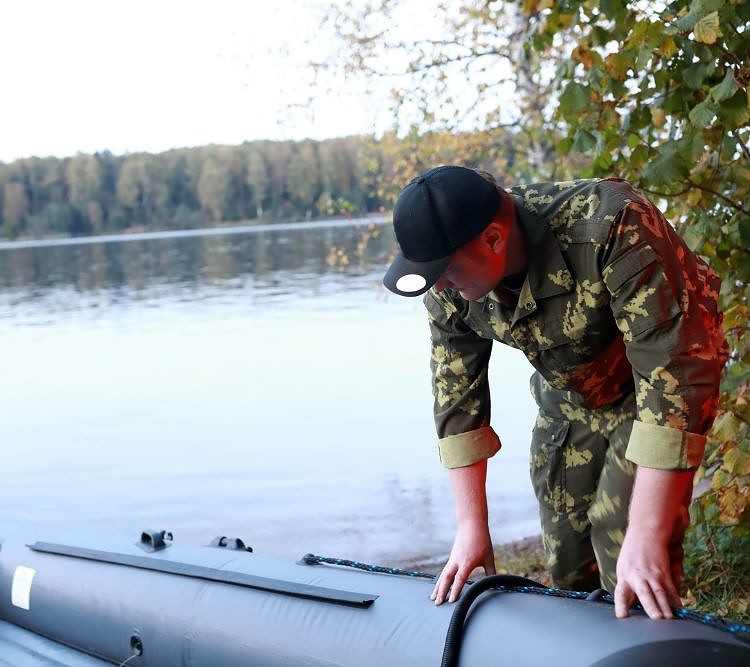
First, remove the boat from its carrying bag. Then, unfold your inflatable and lay it out on the ground.
Make sure the floor doesn’t include any sharp objects that can tear or rupture the boat, such as shells, rocks, barbecue sticks, etc.
The ground must be smooth and flat because a rough surface will damage your inflatable dinghy as the tube expands during inflation.
Make sure to spread the boat as much as possible so that it’s easier to inflate.
Step 2: Remove valve caps.
Remove the valve caps so that you can begin inflating the boat. If the caps aren’t held in place by a string or numbered, you’ll want to number them so they return to the proper location.
For safety valves, you’ll need to twist the inner portion to open the valve.
Step 3: Fill the chamber halfway
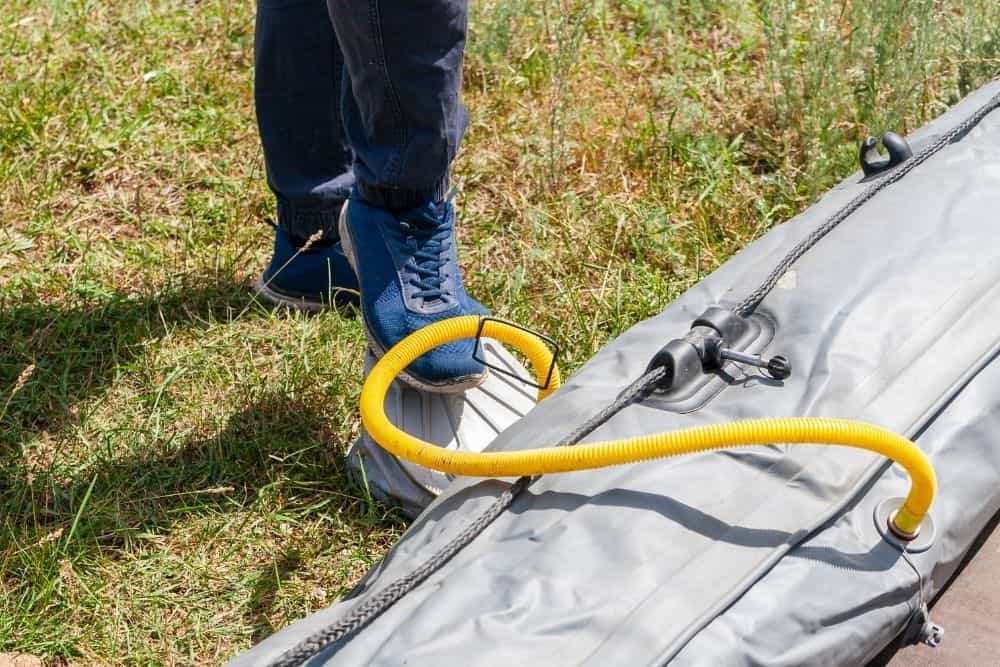

Use a manual or electric pump to begin inflating the boat with air. Start with the chambers in the stern (or rear) and slowly progress to each valve clockwise.
The chambers in your tube need to be inflated in the proper order to ensure the baffles in between the chambers are in the proper position.
Make sure to use the high-volume low-pressure mode to inflate your boat.
For now, only fill each chamber to roughly 50% pressure so that you have room to place the flooring and that they can partially hold its shape.
Some boat manufacturers have a recommended order to inflate their tubes, so make sure to check the instruction manual given.
Step 4: Install the flooring to your boat

Now you’re able to add on the flooring to your dinghy. Installing floorboards on your inflatable can be quite tricky. Follow these exact steps to set up your hard floors on your boat:
- Your boat should come with three or four-floor pieces, so you’ll have to fit them on the boat one by one. The hard flooring pieces are installed by lining them up inside of the boat.
- Grab the front piece flooring and neatly feat onto the front section of the boat.
- Next, use the floor pierce that connects to the transom and place it near the rear side of the boat.
- Then piece together the last two pieces to fit them in the middle of the boat.
- Now that your floorboards are in place Make sure that the floor is equidistant and center from all sides of the tubes.
- Lastly, you’ll need to add the stringers to the sides of the floorboard, which keeps the floor in place. These stringers simply slide in as a bracket to the floor pieces. Make sure the stringers lock in place to the floor piece.
- You may use an object to lift one side of the boat at a time. This makes it much easier to install the stringers.

Step 5: Install seats
For those looking to have seats in your dinghy, you’ll want to slide the seat onto the bracket of your boat or hook the seat into a strap.
If you accidentally inflated your boat to 100%, you’ll need to relieve some pressure first.
Step 6: Inflate both sides fully

Once all of the flooring and seating is installed, you can now fully inflate the boat. If you use an electric pump, you’ll want to inflate it to near full capacity, then top it off using a manual air pump.
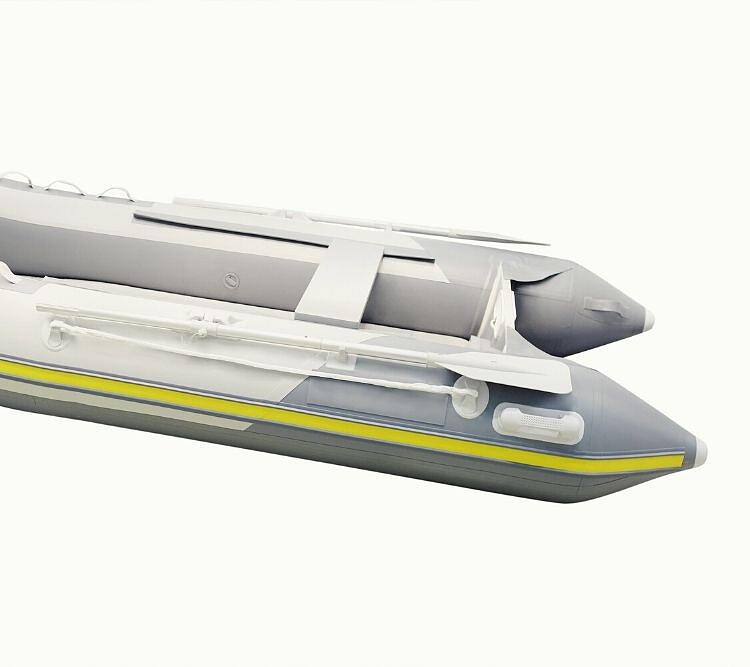
Step 7: Inflate the boat’s keel (if it has one)


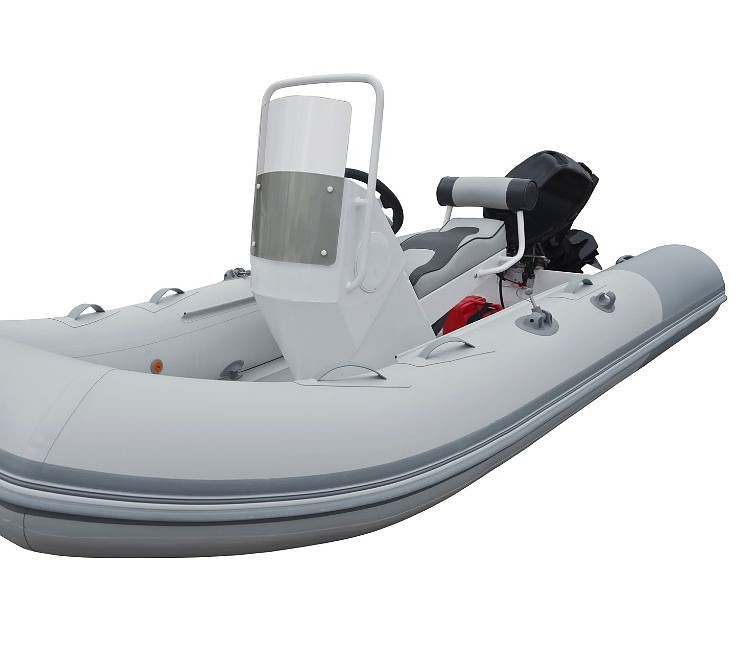
The keel is an air chamber located between the fabric bottom and the wood insert floor. It adds more rigidity and provides a small v-shape to your boat, so it isn’t as floppy.
A keel enables a boat to cut through the water and provide better handling and stability, especially when turning. These are most commonly found in RIBs.
If your boat does have a rigid keel, you’ll want to inflate this air chamber in this step. Remember that the keel will require more air pressure compared to the other main chambers.

Air Floor (Dinghy)

Air floor inflatable boats are much easier to set up since everything is already pre-installed and ready to inflate inside of your dinghy.
With the air flooring, you won’t need to piece together floorboard pieces manually.
Instead, you’ll follow similar steps to installing an inflatable dinghy with a floorboard except in these steps:
- Unfold and layout the boat flat on the floor.
- Uncover the valve covers and inflate the boat halfway.
- Install the seats by sliding them into the boat’s brackets.
- Inflate all sides fully to 100%.
- Then inflate the air deck.
- Lastly, pump up the keel last. The keel should be inflated to the same pressure as the tubes.
Most manufacturers use drop-stitched air floors that require more air pressure than the tube itself.
Use your pump to inflate the air floor as much as possible. Then switch or change your pump’s settings to the high-pressure mode.
Top up the pressure until you get into the 7 to 9 psi range. The air floor should feel rock hard with no give.
The steps are the same as installing an inflatable dinghy with a floorboard, except just skip the steps related to installing the floorboard.
Instead, go straight to the steps where you install your seats once you inflate your boat halfway.
Keep in mind that all tubes should be at equal air pressure at about three psi.

Assembly Tips for Inflatable Dinghies

Follow these assembly tips to speed up the assembly time and reduce potential problems that may occur.
- The boat material won’t be very malleable the first time you inflate the boat. This makes it a little difficult to piece the sectional floors together. However, after the second or third use, it’ll be much easier to set up.
- Ideally, we recommend having two people install the boat, especially when installing the floors and stringers.
- The aluminum side strings are designed to support the whole length of the floorboard. Instead, they are only made to cover the joint connection points of the floor sections.
- When installing the floorboards, make sure the floor edges aren’t poking against the inflatable tube.
- The floorboards are easier to install when you start from front board #1 and then board #4 or the transom piece. Next, work your way towards the center of the boat.
- Make sure there is equal distance from the floorboards to the edges of the boat on each side. This ensures you have enough space to install the stringers.
- The two-floor pieces in the middle of your boat may have a slight overlap with each other. You’ll need to lift them both using an oar to form an “A” shape. Apply direct pressure on both boards with your hands or feet. These boards should snap into place so that the floorboards are completely flat.
- Do a quick dry assembly upon purchasing your new boat to ensure all the components are okay.
- Air floors on dinghies are easier and faster to set up than hard floors.
- Use an electric air pump will speed up your assembly by a few minutes.
Keep in mind that assembling and setting up should only take 15 to 20 minutes. Of course, if you have some help, it’ll take even faster.
How to Install an Inflatable Kayak (or Pontoons)


Installing an inflatable kayak is similar to setting up an inflatable dinghy, but with a few differences. Keep in mind these steps also are applicable to inflatable pontoons.
Step 1: Unfold and lay out your kayak.
First, take out the kayak from the carrying bag and unfold it. Then lay it out completely flat on the floor.
Step 2: Pump up the floor chamber.


Most inflatable kayaks will have three air chambers. But some lower quality kayaks may only have two chambers.
The three air chambers will have two side walls and one floor. For two chambers, it’ll contain a single connected wall tube and a floor.
Always inflate the floor chamber first because it sets up the base around which the wall chambers will be inflated. Now inflate your floor chamber fully.
Close the air valve once it’s fully inflated.
Step 3: Fill the wall chambers to about 60 to 70% capacity.
Next, you can inflate the wall chambers. Inflate each wall chamber to about 60 to 70% and let the material stretch. Inflating the walls to 100% the first time could cause the material to warp.
Step 4: Spot-check the positioning of the floor chamber.
Ensure that the floor is centered and didn’t misalign. You may have to lift the walls to check.
Step 5: Fill each wall chamber to 100%.
Next, fully inflate the kayak to 100%. Close all air valves tightly when fully inflated.
Step 6: Inflate or insert your seats.
Some seats can be positioned on top, while others need to be inflated. Read through your instruction manual to see how you’ll need to position your seats in the kayak.
Step 7. Insert your skeg.
Next, you can insert your skeg (skegs). A skeg is used to ensure easier handling while paddling. It helps to keep your inflatable kayak on track with as little effort as possible.

Recommended Air Pressure for Inflatable Kayaks

The recommended air pressure for the wall chambers of your inflatable kayak is roughly between 1.5 to 2.5 PSI. However, this is different for every kayak, so make sure to read through the instruction manual.
The air floor of your kayak will also vary. For simple air floors, you can have an air pressure of 1.5 to 2.5 PSI. If your kayak uses dropped stitched air flooring, the ideal air pressure might be as high as 15 PSI. Check the instruction manual here as well.
Air Pressure

Many boats and pumps include an inline pressure gauge to help you know once your inflatable dinghy has enough air. However, once you’ve set your boat up a few times, you’ll have a good idea when the air pressure is right.
The most common mistake that new inflatable boat owners make is that they typically underinflate their boats. Unfortunately, this negatively affects on-water performance.
Safety Checks Before Entering the Water

Before you place your boat into the water, you’ll want to perform two safety checks.
- Perform a soundcheck. Walk around your boat and listen for any leaking air that could be escaping somewhere. If you find a tear or puncture in your inflatable, make sure to fix it before entering the water.
- Check the valves are screwed on tightly. The valve covers should all be screwed onto the valves. Having them replaced can be a big hassle.
Final Thoughts
Don’t be the boat owner who just jumps straight to setting up the boat without first knowing what you need to do.
That’ll be a sure-fire way to ensure potential damages to your boat or sub-par performance in the water.
Now that you know how to assemble and the reasoning as to why you should set up the boat in this order, you’re ready to hit the waters!
Make sure you understand how to safely launch an inflatable boat to prevent the risks of harming your boat.

I created this site to help people – to help you – with your boat problems. Instead of helping one person at a time, I want this website to be the “one-stop-shop” for everyone’s boating concerns. Read more.