Filling an inflatable boat might sound obvious. However, there’s more than meets the eye.
You must assemble and fill the boat correctly; otherwise, it could be a safety hazard.
We’ll cover:
- How to fill an inflatable boat quickly and safely
- Can you fill it with foam?
- How long does it take to fill an inflatable boat?
- Types of pumps
Let’s get started!
Table of Contents
How to Fill Your Inflatable Boat Quickly (step-by-step)

Follow these steps to inflate your boat safely and quickly:
1. Lay Out Your Boat
Unfold your dinghy and lay it out on a flat surface free from any sharp objects like rocks, shells, etc.
Since the tubes will expand on the ground when inflating, you don’t want the sharp objects to damage your boat.
Expand the boat as much as you can so that the boat can easily inflate.
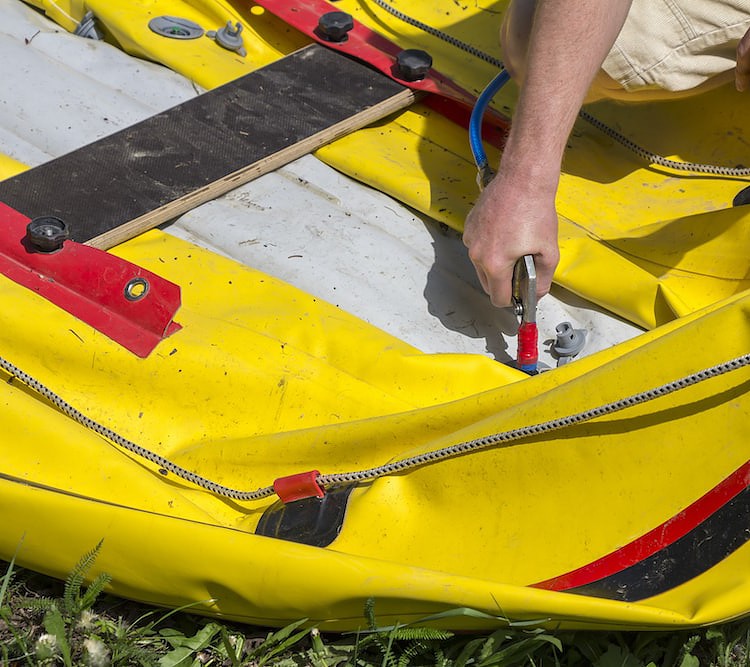
2. Remove Valve Caps

Take off the valve caps. If the caps are numbered or attached to a string, you may want to number them so that you can return them to the exact location afterward.
You may have to turn the inner part to open the valve. This enables you to inflate the boat.
3. Fill Chambers to 50% Capacity
Fill each chamber about up to 50% capacity. Start from the rear and work your way around clockwise.
Check the manufacturer’s manual to see if they instruct you on a particular order to inflate them.
Filling these chambers halfway gives your boat some shape so that you can install the flooring and seating inside.
If you inflate over 50%, you may have trouble installing the floors.
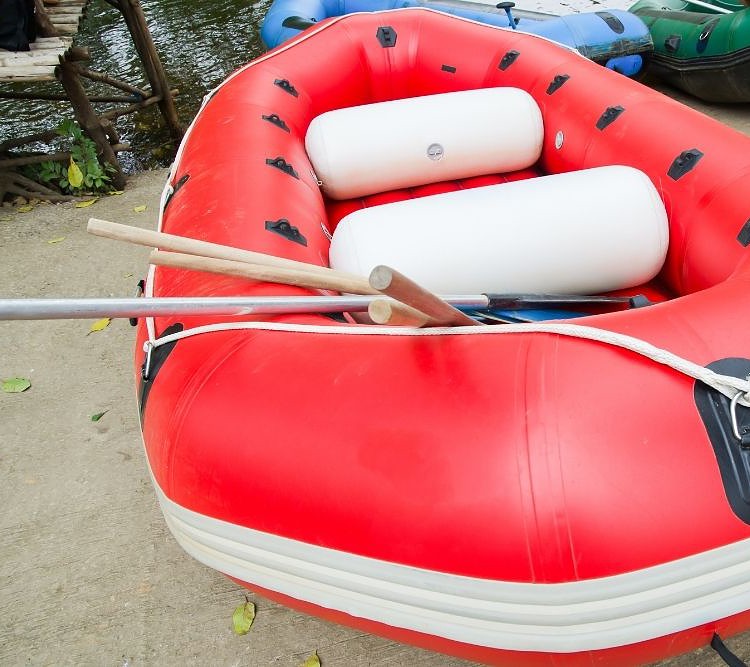
4. Install Flooring
")
Now you can assemble the floors. Air floors are simple to install because you just fit them inside of the boat and line them up nicely.
When your floor is set up, get inside of the boat and check to see that the keel valves line up.
The floors should be equidistant and centered on all sides. Check to see that the floor is even and properly positioned.
5. Setup Seating
Now you’re ready to install the seating in your boat. This usually involves sliding onto the bracket or hooking the seat into a strap.
Remember that if you inflate the chambers more than halfway, you’ll need to release the chambers first so you can properly fit the seat and floors inside.
6. Fill Up the Entire Boat
Once you’ve got the interior set up, you can inflate boat sides of the boat.
Start by inflating one side and then the other.
7. Inflate the Keel
If your boat has a keel, you’ll need to inflate it as the last part of the process.
Inflating the keel will require more air pressure compared to the main chambers.
8. Perform Safety Checks
Always perform safety checks before placing your boat in the waters.
Do a sound check by walking around the boat to see if there is any air leaking outside. If you spot a tear or puncture, you’ll need to fix it before going into the water.
Also, make sure that the valve covers are screwed on tightly onto the valves.
Once you’ve completed the safety checks, you’re ready to go!
Types of Pumps


When looking for the best air pumps, you need to know what types of pumps you’re looking for.
There are two types of pumps you can use to fill up your inflatable.
- An electric pump
- A manual pump controlled by hand or foot
An electric pump is extremely fast and efficient. Simply plug the pump in and turn it on.
Then watch it inflate your boat up.
Some electric pumps even have a deflating function where it sucks the air out of your boat!
It’s important to note that an electric pump requires power to operate, which may not be available if you’re out in the woods.
Electric pumps take the manual labor out of pumping.
Make sure to get a 2 stage electric pump because they usually have a high-pressure setting that can pump up your boat up to 20 psi.
Manual pumps come in either foot-controlled or hand-controlled pumps.
Try getting a manual pump with a high-pressure capability.
It’s convenient to get a manual pump so that you can take it with you on-the-go in case your boat loses air during your trip.
Frequently Asked Questions
1. Can you fill an inflatable boat with foam?
")
Although inflatables were designed for air pressure, it is possible to fill your boat with foam.
The big downside to using foam filling is that you won’t easily store your dinghy, and it makes your boat much heavier.
There are some advantages to a foam-filled boat, such as increased buoyancy, added protection to protect against sharp objects puncturing your boat, and solid fendering.
2. How long does it take to inflate an inflatable boat?

Inflating a boat shouldn’t take you hours.
It should take you about 15 to 20 minutes to inflate the boat.
However, if your boat is new and has never been inflated, it might take a little longer because the material has to stretch.
Here’s how you can speed up your assembly time:
- Setting it up on air floors is faster than hard floors.
- Using an electric pump will inflate faster than a manual pump.
- Do a dry assembly while you’re at home to ensure everything is okay.
Conclusion
Inflating a boat is relatively simple and straightforward. It is important to follow the steps in order.
There’s nothing worse than damaging the fabric or getting a puncture while inflating.
Now that you know how to fill up your dinghy, it’s time to get in the waters!

I created this site to help people – to help you – with your boat problems. Instead of helping one person at a time, I want this website to be the “one-stop-shop” for everyone’s boating concerns. Read more.