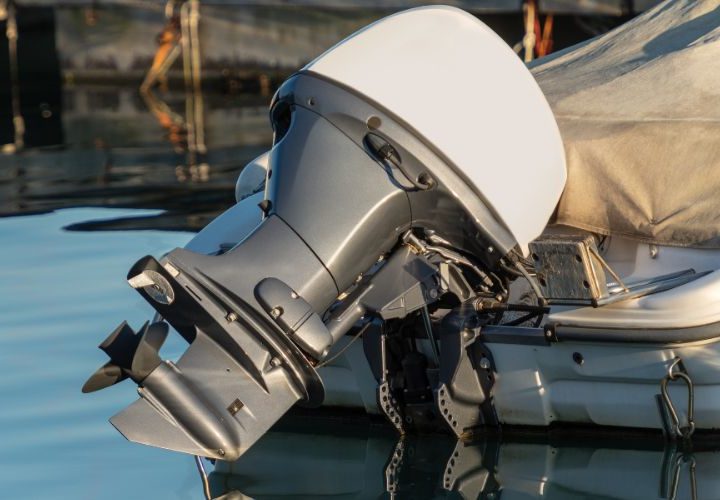
So, you got yourself a spanking new outboard motor!
Congratulations! Now how do you mount the thing on your boat?
More importantly, what size bolts do you need to mount your outboard motor?
Installing your outboard – and especially doing it right the first time – is essential.
Getting the right size, length, and type of bolts to mount your outboard will ensure that your motor performs to the best of its capabilities.
Additionally, it will also prevent damage to both your boat and outboard and reduce the risk of injury should any accidents occur.
Following the simple steps laid out in this guide will equip you with the know-how and confidence to properly mount your outboard engine.
You’ll be on the water in no time!
Let’s get this party started, shall we?
Here’s a little preview of the nuts and bolts for this particular challenge:
Step 1: Get That Manual
Step 2: Get Good Quality Bolts
Step 3: Get Ready to Mount Your Outboard
Step 4: Get That Motor Mounted!
Step 5: Go Fish!
Table of Contents
Step 1: Get That Manual
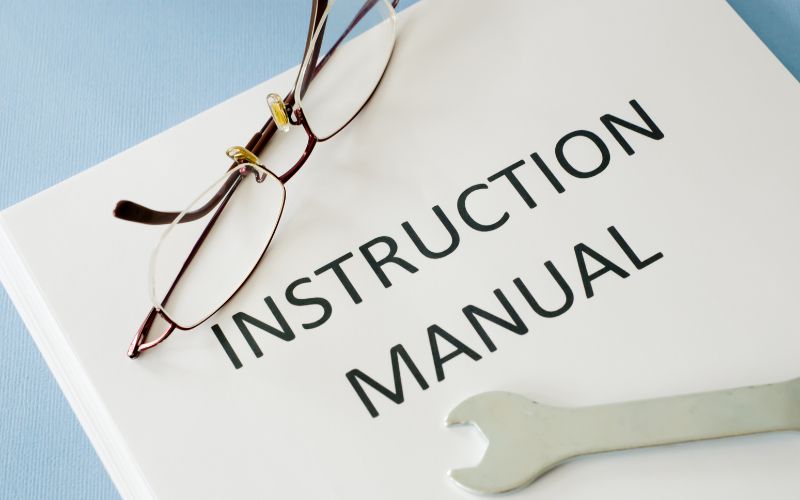

Whatever brand of outboard motor you have, it’s generally a good thing to have your Owner’s Manual within reach whenever you’re fiddling with it.
Mounting an outboard motor usually falls under ‘Installation’ instructions in the Table of Contents.
If you’re looking for the appropriate size of bolts to use in mounting your outboard, the Owner’s Manual likely contains those specs.
No Owner’s Manual?
If you bought your outboard motor from a private seller or a source that sells pre-loved units, don’t despair!
It’s not very difficult to find an Owner’s Manual for free on the Internet. Just type the brand and model of your outboard motor on the Search bar of your browser. Below are some examples:
|
Brand/Model |
Bolt Size |
| Tohatsu MFS 25-30 | M12x105mm |
| Mercury HHCSS1/2C5.5 | M12x140mm |
| Suzuki DF14 | M12x150mm |
| Yamaha 25HP | M12x105mm |
Step 2: Get Good Quality Bolts
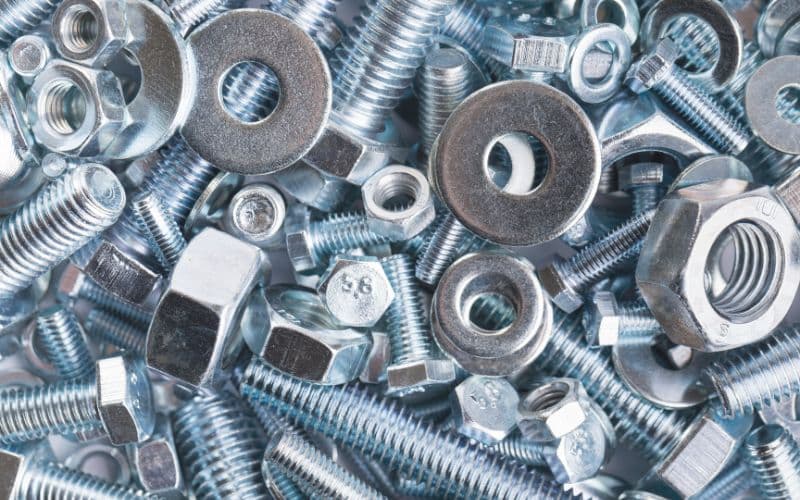

Typical mounting bolt kits come with the standard stainless steel transom bolts with fine thread, a lock nut, and a couple of flat washers.
These bolts are usually 0.5 inches in diameter and come in varying lengths.
The lengths can range from as short as 3 inches all the way to 9 inches.
Speaking of bolts, here’s something very important to remember:
Not all bolts are created equal.
Just because mounting bolts are exactly the same in size and length, that doesn’t mean they’re the same in strength or quality.
If you checked your Owner’s Manual as we suggested, you’re already aware of this.
Manufacturers often warn clients to avoid getting parts from your friendly neighborhood hardware. No, they don’t have anything against small businesses. It is simply a matter of quality—specifically, the quality of stainless steel.
Some Manuals specify what kind of stainless steel is acceptable for mounting bolt strength.
You don’t want to buy cheap since these transom bolts are basically all that’s keeping your outboard motor attached to your boat.
So try to check if the bolts are at least Grade A2 stainless steel.
Grade 18-8 would be preferable on account of its resistance to corrosion.
No products found.
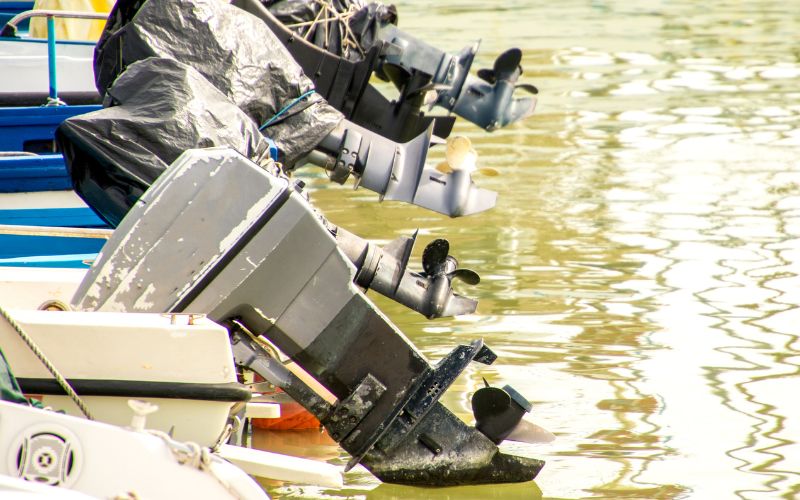
Step 3: Get Ready to Mount Your Outboard
Okay, now you know the size of your mounting bolts, thanks to checking your owner’s manual! But what length of mounting bolts do you need for your specific motor and boat?
To answer that question, you need to line them up in preparation for mounting.

The typical flow of how an outboard motor is mounted is pretty straightforward:
- Mount the outboard on your boat’s transom
- Line up the holes for the bolts to screw on
- Fasten bolts
- Go fish!
Anyone who’s ever mounted an outboard engine would know there are quite a lot more logistics and details involved in this process.
You can try mounting your motor yourself if you have your own engine hoister or are friends with someone who has one.
Otherwise, a visit to your local shop with both your boat and motor is in order.
Why go through this hassle?
Standard mounting kits are enough, right?
Not always.
Sometimes, even the manufacturer-specified length of mounting bolts might prove to be too short or too long for your actual needs.
This may be especially relevant if you have a transom saver or backplate on your boat.
So you really need to check how well your motor fits on your boat and whether the mounting bolts can reach the lock nut enough for it to be tightened properly.
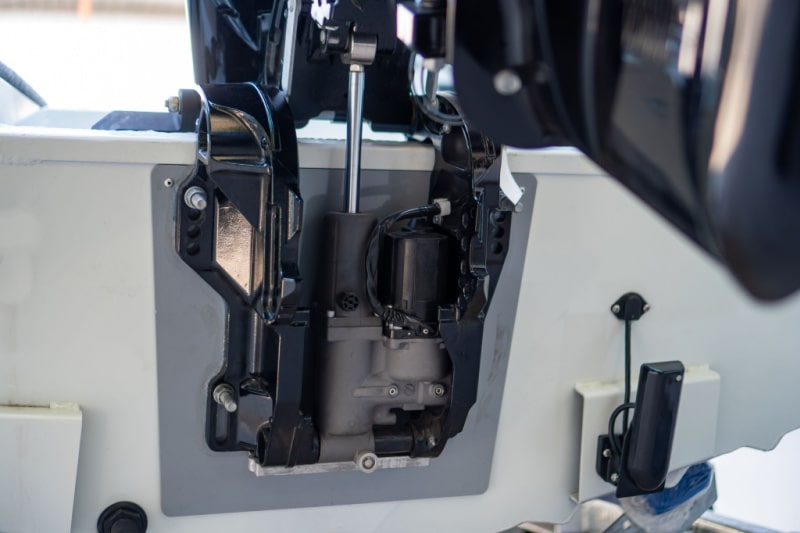
Step 4: Get That Motor Mounted!


Once you have the right size and length of mounting bolts, you’re ready to mount!
Or are you?
This might be a matter of preference, but there are some other things to consider as you’re mounting your engine onto your vessel.
Thinking about your outboard motor in the long term can save you headaches and hard-earned cash along the way.
So let’s pause here and consider:
How can we make both this mounting process and possibly removing a broken outboard motor as safe and smooth as possible?
Position
Before you get those top and bottom transom bolts all tightened, we need to make sure that your outboard motor is at the correct height.
The Owner’s Manual usually mentions that, when you install the motor, the anti-cavitation plate should be perfectly level with the bottom of the boat.

You want to double and maybe even triple-check this before proceeding with the mounting.
Setting up the motor too low will net you too much water spray.
Having the motor too high, on the other hand, will mess with your trim.
So it’s best to be precise with this.
Water Intrusion
Many boat owners also recommend using some kind of caulk or adhesive sealant on your transom bolts.
No products found.
This is to prevent water intrusion in the holes of the transom.
These sealants vary in strength, and opinions on which type is best to use vary greatly as well.
Use your best judgment, and ask around for what would be best for your specific unit.
Rust and Corrosion
Finally, before you mount your motor, it’s good to prevent bolts and nuts from galling up (getting stuck together).
This can be done easily by doing two things:
1. Brush on a little anti-seize product on your bolts’ threads. These products are lubricants that prevent corrosion and galling.
If you’re planning on disconnecting your outboard motor someday without having to cut the bolts with a grinder, put some of this on each of your mounting bolts.
No products found.
2. Don’t use stainless bolts with stainless nuts. Stainless nuts on stainless bolts are notorious for galling and seizing up.
Brass lock nuts are recommended for stainless, so if your mounting kit didn’t include these, you might want to get some yourself.
Step 5: Go Fish!
And that’s it!
Step 5 isn’t really a step.
If you’ve followed the steps given above, consider this as a sending-off.
It’s us telling you to get out there and enjoy a hassle-free mounted outboard on the water!

I created this site to help people – to help you – with your boat problems. Instead of helping one person at a time, I want this website to be the “one-stop-shop” for everyone’s boating concerns. Read more.