
Do you have a Minn Kota trolling motor that you need to install? Are you looking for instructions to make sure your Minn Kota trolling motor is installed correctly?
Most of the time, it’s easy to install a Minn Kota trolling motor. You need a little bit of time and the willingness to try something new. Then follow along with our installation guides below.
Table of Contents
Are All Minn Kota Trolling Motors Installed the Same Way?

You do not install all Minn Kota trolling motors the same way.
The reason for this is that some trolling motors are designed to go on the front, or bow, of your boat, while others are designed to go on the back of the boat.
The ones that go on the back of the boat are attached to the transom, the straight piece that goes across the back of the boat.
While there are many different makes and models of Minn Kota trolling motors, you will follow the same general procedure to install all of their models that go on the boat’s bow.
The same is true for the ones that go on the transom.
Sometimes, your installation will vary by the type of boat you have.
You will need to look at your boat, then modify the instructions for any specific needs your craft has.
Your installation process may be different if you have certain accessories and/or upgrades to your Minn Kota trolling motor.
However, your general installation process should be the same as what is listed here. You will need to install your extra components separately.
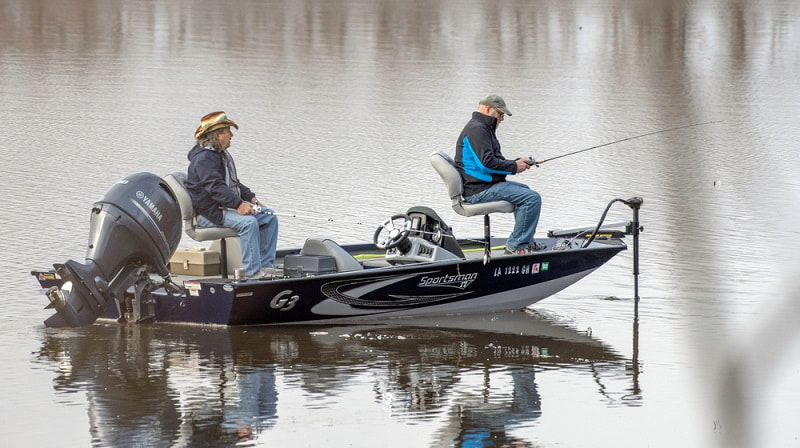
How to Install a Transom-Mount Minn Kota Trolling Motor?

Installing a transom-mount trolling motor from Minn Kota is easy. Here’s what you need to know.
If you are unboxing your transom-mount trolling motor for the first time, you may need to install your tiller handle. Sometimes, these are shipped detached to make for easier transportation.
To install your Minn Kota trolling motor handle, simply align the marker for the “Off” position with the little ball on the handle shaft. This is called the “Ball Detent,” and you may need to remove a wire clip from it, as well.
Once the handle is properly aligned, push it into place. You will hear it “click”, which indicates that the handle is securely attached. Note that it may take some force to get the handles to push together far enough to lock into place.
After the handle is in place, do not try to remove it again. This connection is permanent.
To install the trolling motor on the transom, proceed through the following instructions:
- Clean your boat’s transom. Find a spot on the transom that is obstruction-free, so the trolling motor will be able to sit in the water easily as well as tilt up into the boat when necessary.
- Open the screws on the mounting bracket. Make sure they are open enough that the bracket can slide down over the top of the transom.
- Place the motor on the transom. Ensure that the bracket is resting on the transom, which indicates that the motor is installed properly.
- Check, once again, for obstacles. Now that the trolling motor is sitting the way it will sit when you use it, make sure that there is nothing on or inside the boat that will damage it or be damaged by it when you turn it on.
- Tighten the screws on the clamp. Do not use a tool or this, as you could damage either the clamp or the transom or both.
- Adjust the screws until the motor shaft sits at a ninety-degree angle to the water when the motor is deployed.
- Test the tilt. Make sure you can tilt the motor all the way up, so that the motor and the propeller are completely out of the water and the motor lies close to the mountain bracket.
- Test the shaft length. You want the motor to be submerged at least twelve inches. This allows the motor to run quietly and efficiently so you can achieve your trolling goals.
Make sure you never turn your Minn Kota trolling motor on outside of the water. This can damage the motor, as it is designed to use water to cool itself.
Once your trolling motor is installed on your boat, you’ll want to wire it to a battery so that you have power. We will discuss that below, as the battery wiring is the same or both transom- and bow-mounted trolling motors.
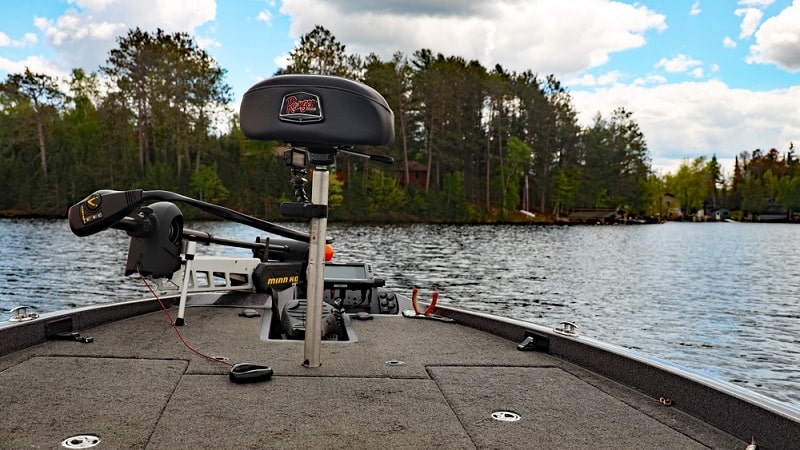
How to Install a Bow-Mount Minn Kota Trolling Motor?

Are you interested in mounting a bow-mount Minn Kota trolling motor? This process is more complicated than mounting a motor on the back of your boat, but you should still be able to do it quickly and easily.
You can follow along with the video below:

While it shows the mounting process with a particular kind of trolling motor, rest assured that you can use the same process for any Minn Kota trolling motor that you have. We will also outline the process here if you prefer to read instructions instead.
- Decide which side of the bow you want your trolling motor on. There’s no better or worse side. It just depends where you prefer to stand and to fish from when you’re in your boat. You can always change this later, if you need to.
- You may want to take your trolling motor out to your boat to see how it will work. Consider how much space it will take up, both while deployed and while taken in. Make sure you don’t block seats, anchor lockers, etc., and that the shaft will clear the sides of the boat.
- Unscrew both of the panels from each side of the motor.
- Align the quick release bracket with the holes and, using the hardware provided, attach the bracket to the trolling motor.
- Reattach the panels on the sides of the trolling motor.
- Align the trolling motor where you want it and mark the outside edges of the mounting bracket. Use a pencil so you can erase these marks later, but get them dark enough that you can see them.
- The box that your mounting bracket came in should have a template. Cut that part of the box out so you can use the template during mounting. Line up the template with the marks you made and use it to mark the inside of the bracket, too.
- Line up the inside part of the mounting bracket with the marks you just made. If all four holes will not be on the boat, mark on the bracket where you will need to drill two additional holes.
- Drill the additional holes you need. Countersink them so that they will work properly with the bracket.
- Line up the inner part of the bracket on your marks again. Holding it steady, drill through the holes into the bracket to make aligning holes in the boat. You may need to remove the bracket once each hole is started to push it all the way through.
- Remove the bracket and place some boat glue around each hole on the boat. This keeps water out and helps hold the bracket in place, too. You may want to add additional glue between the holes.
- Put the bracket back on. Use screws to make sure the holes are lined up properly.
- Access the hull of your boat by opening your anchor locker, removing the anchor, and reaching inside. You should be able to find the screws that you put through the hull. Use this access to through-bolt the screws with a washer and a nut so it stays in place.
- Tighten everything up and make sure the bracket feels stable.
- Set the part of the bracket that you attached to your trolling motor earlier on top of the part of the bracket now attached to your boat. It should fit perfectly!
- Take your bracket anchor and push it through. The holes in the part of the bracket on the boat should line up perfectly with the holes in the part of the bracket on the trolling motor. You may have to shove to get it to go all the way through.
- Put the pin in the bracket anchor. It should slide easily into place to help keep the bracket where it belongs.
- If you have a heading sensor with your trolling motor, install it on your console. Make sure that the arrow on the sensor is pointing directly toward the front of your boat.
- Hook the heading into the fuse panel so that it can rely on a one-amp fuse. Then, hook up its positive and negative wires to the appropriate places on the fuse panel, too.
- Wire your trolling motor into place. This may be as easy as plugging it in, or you may need to set up your whole system, as below.
- Test your system. Make sure that the green light on your trolling motor turns on. To test the heading sensor, look for a green or blue light that flashes quickly.
- Press the “Pair” button on your trolling motor. It will beep when it has successfully paired with your heading sensor. If the pairing was successful, the light on the heading sensor will flash slower than before.
- Deploy your trolling motor. Make sure it clears everything on your boat and that it will remain clear when you’re using it.
- If you need to set the shaft length, simply unscrew the bracket and slide the shaft so that the motor will be submerged by at least twelve inches when the motor is in use. Then, tighten the bracket again.
- If your trolling motor comes with a remote, turn it on and make sure it is communicating with the motor. Make sure that it can turn the trolling motor. You can test the propeller briefly, but don’t run it for more than a few seconds.
How to Wire Batteries for Your Minn Kota Trolling Motor?
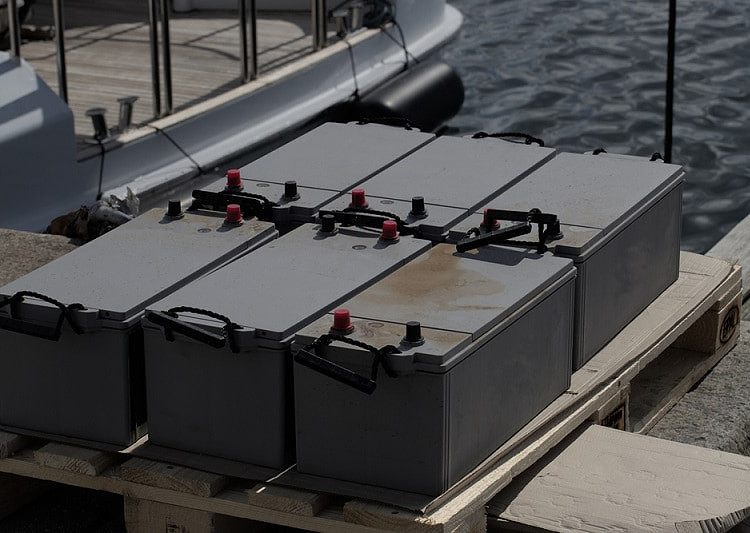

First, make sure that you have the right number of marine batteries for your trolling motor. They come in 12v, 24v, 36v, or 48v options. You should know what voltage you need or you can find it in the materials that came with the motor.
Marine batteries come in 12 volts, so you may need to wire 2-4 of them to get power for your trolling motor. This video below tells you how to do that:

or you can follow along:
- Disconnect the power and turn your circuit breakers off.
- Determine where you want to install the batteries. You may have a dedicated battery compartment, or you may need to find a watertight place to store them.
- Secure your batteries in place with a strap.
- Get the right breaker for your trolling motor. This will be determined by the size of your motor and the information should be available in your owner’s manual or online.
- Attach the positive side of the first battery to the negative side of the next one. If you have multiple batteries, continue to connect positive sides of one to the negative sides of the next one until you have connected all the batteries.
- Connect the positive side of the last battery to the input pole of your circuit breaker.
- Connect the output pole of the circuit breaker to the positive lead on your trolling motor.
- Finally, connect the negative lead from the trolling motor to the negative pole on your first battery.
If you want to add a battery charger, make sure you get one that is made to recharge the number of batteries you have. Connect the positive and negative leads of each recharging bank to a battery, and you should be ready to charge.
Conclusion
Installing a Minn Kota trolling motor doesn’t have to be a stressful process. When you follow the instructions outlined above, you should be able to get your trolling motor working quickly, without a lot of hassle.
Once you have your new trolling motor installed, it’s time to try it out. Take your boat to your favorite body of water and have a great day fishing and enjoying the sun!

I created this site to help people – to help you – with your boat problems. Instead of helping one person at a time, I want this website to be the “one-stop-shop” for everyone’s boating concerns. Read more.